Using your theme in WordPress
After your first export, your transjt theme is in WordPress. Here is how to activate it and build pages.
Before you start
The transjt plugin must be installed and connected. See Connecting WordPress.
Activate the theme
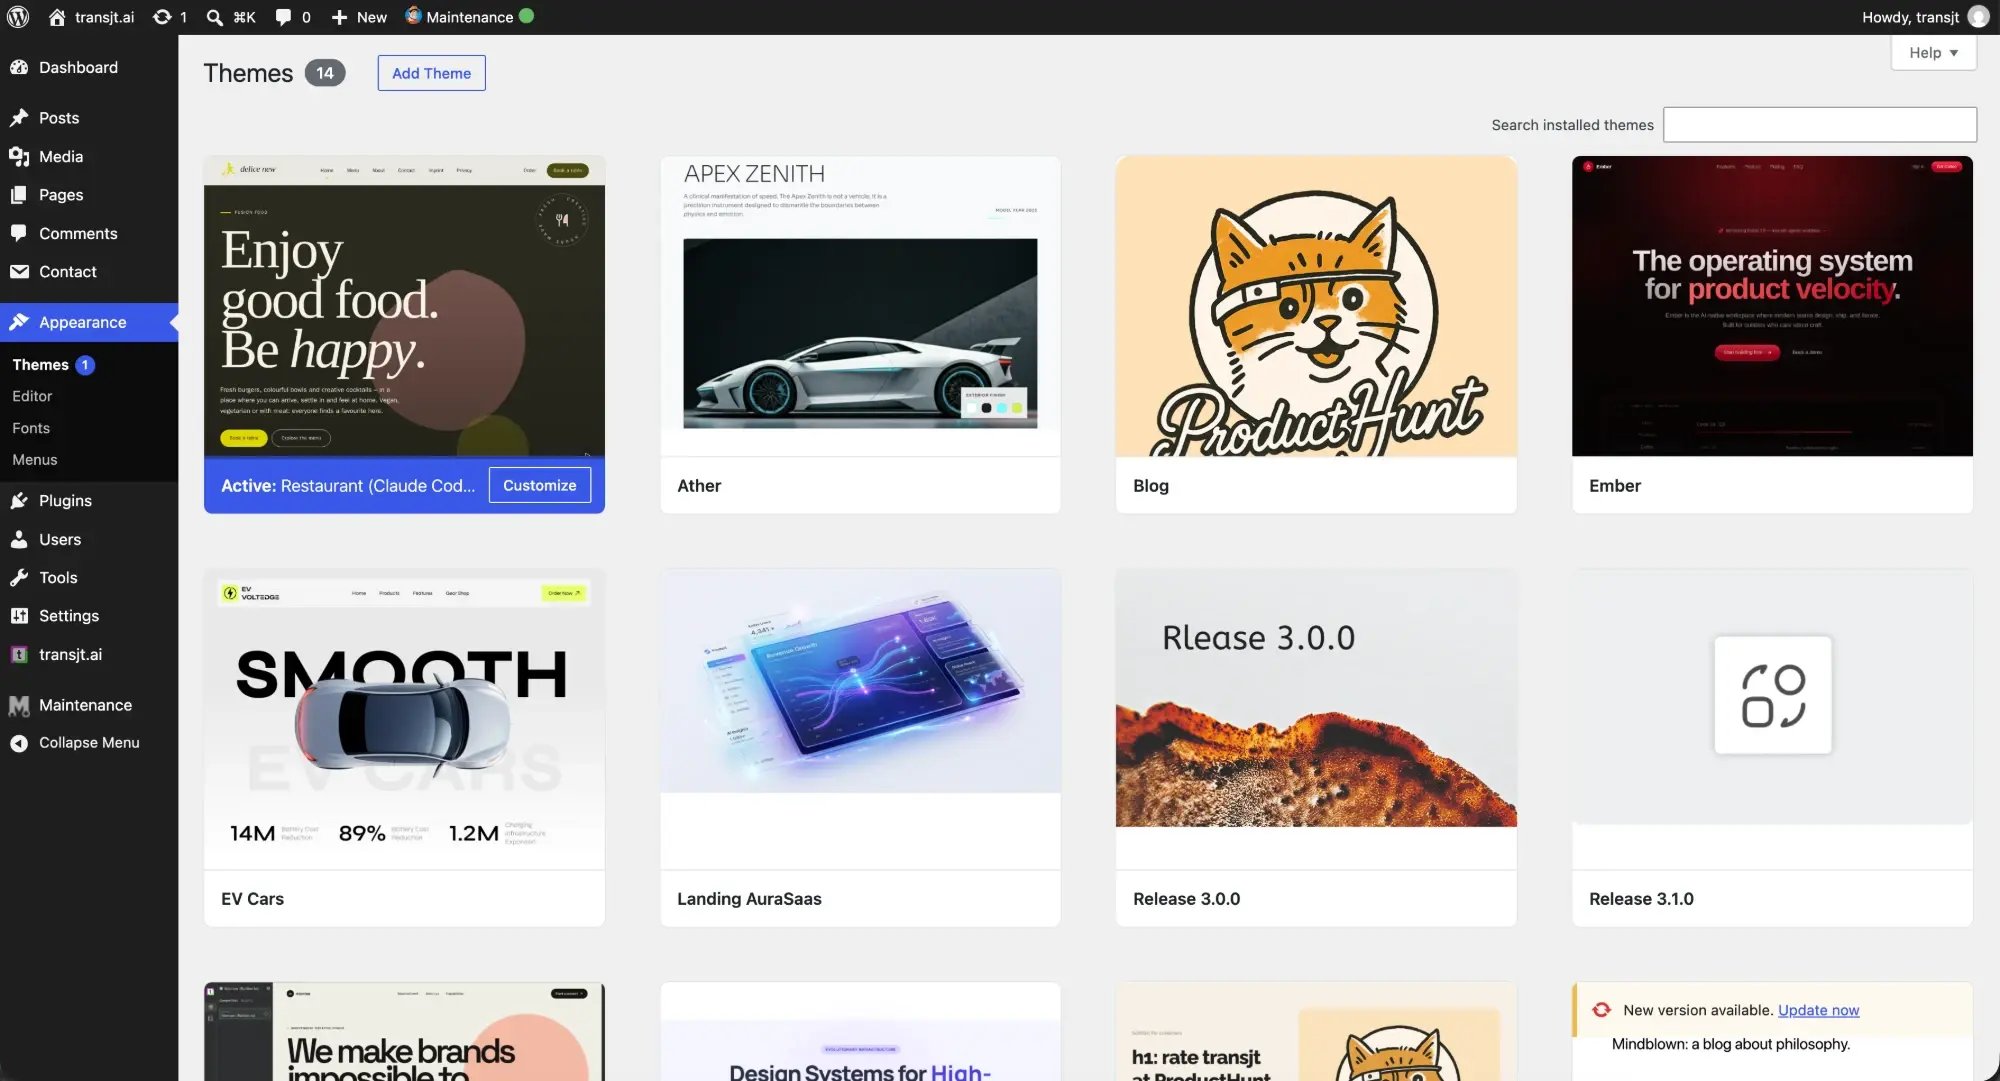
After your first export, go to Appearance > Themes. Your theme carries the project name and the cover image you set in transjt. Hover over it and click Activate.
Upload the theme manually
If you still want to install the theme yourself, download it and upload it in WordPress. The theme works without the plugin.
- In transjt, open your project and go to the Deploy step.
- Click Download Theme. You get the theme as a ZIP file. You can also download an older version under Previous Packages.
- In WordPress, go to Appearance > Themes and click Add Theme.
- Click Upload Theme, choose the ZIP file and click Install Now.
- Click Activate.
Build pages
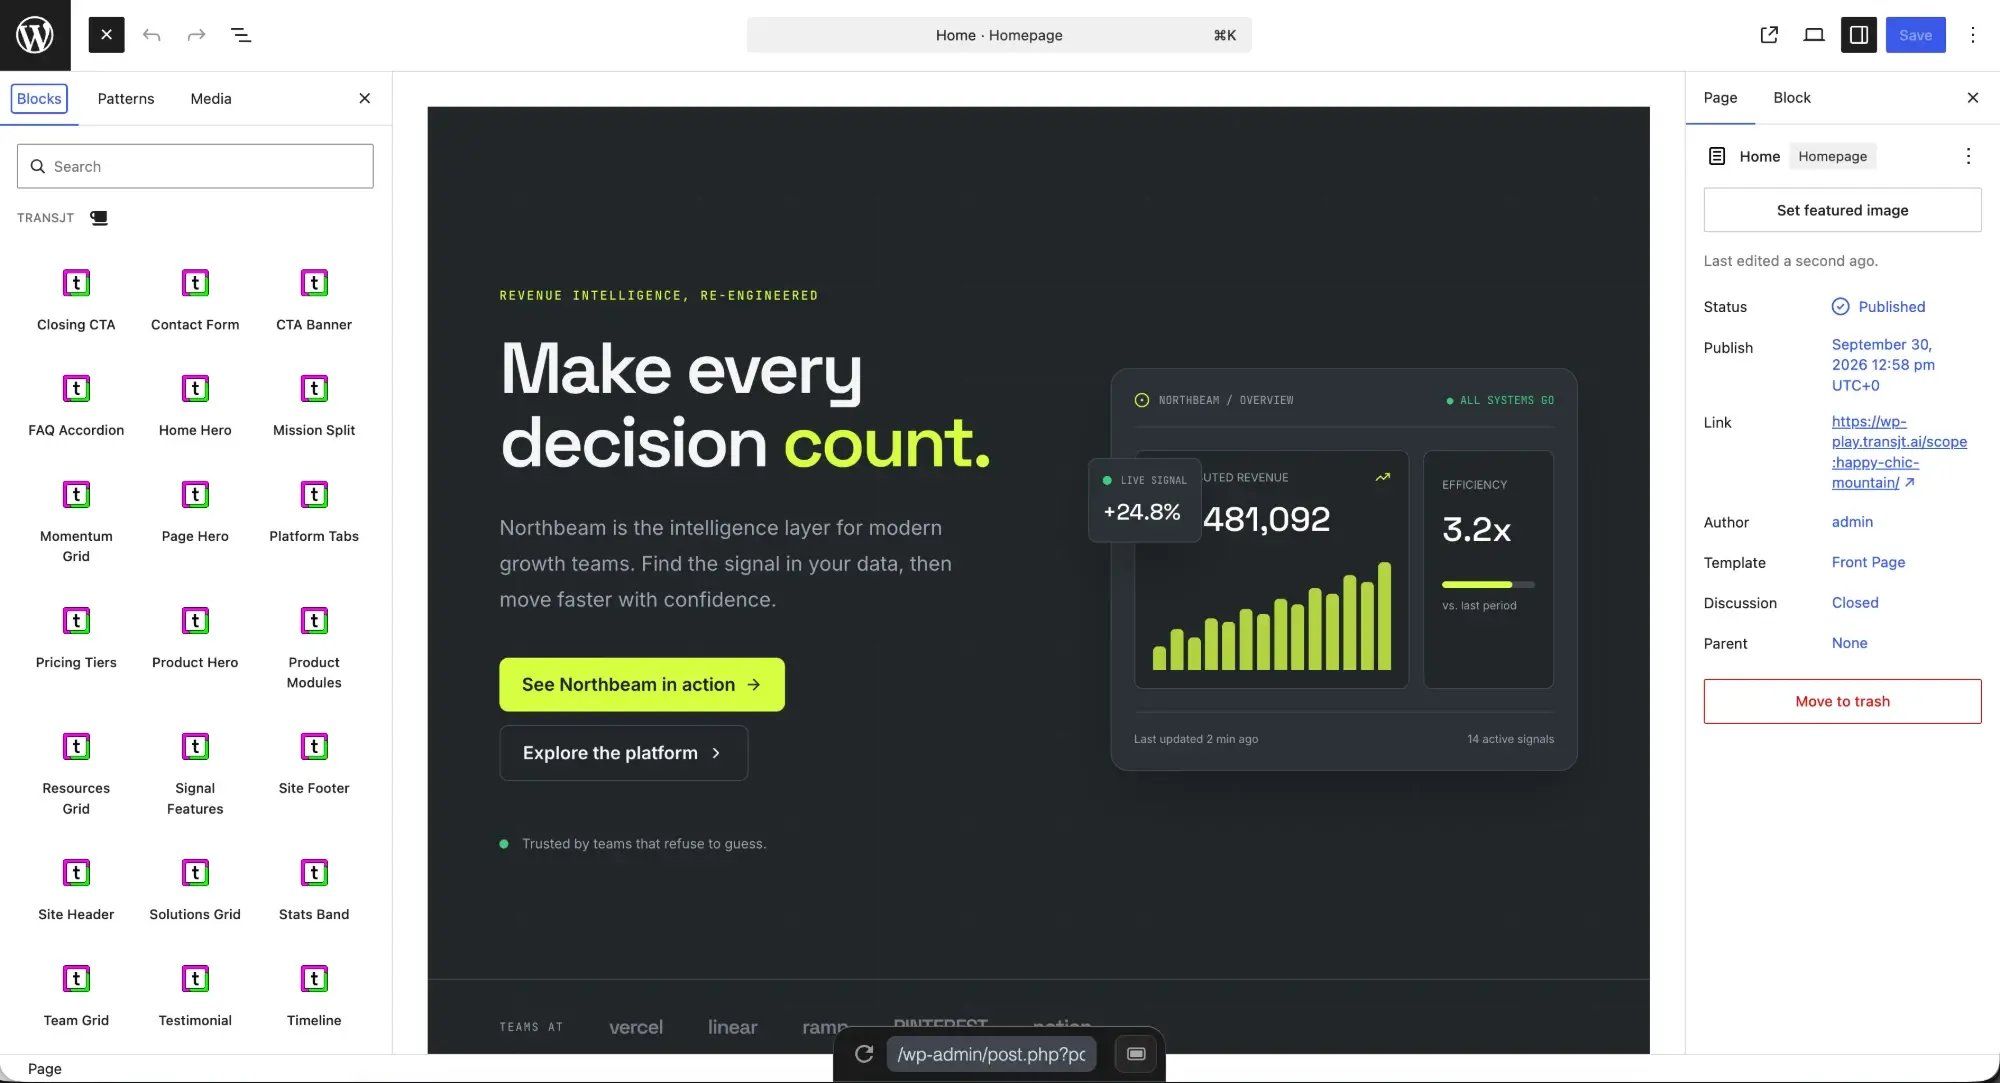
Go to Pages > Add New Page. Your transjt components are listed as blocks in the block inserter. Drag them onto the page and edit texts and images directly.
Header, footer and menus
Header and footer are global components by default: you edit them once, and the change appears on every page. The header follows your WordPress menu, so a page you add to the menu appears in the navigation automatically.
Forms
Before you export your first form, install and activate the Contact Form 7 plugin. The export then creates a working Contact Form 7 form.
Blog
Import your blog listing layout with the type Blog and the post layout with the type Blog Detail. After the export you get real post pages, listings, tags and pagination.
Preview before you go live
In the Deploy step, click Open Preview on Ready to deploy. transjt shows your frontend combined with WordPress in a sandbox, before anything is installed on your own site.