Connecting WordPress
Install the transjt plugin on your WordPress site and connect it to your transjt account.
Before you start
- A transjt account.
- A WordPress site on any domain, with administrator access. A fresh installation works best.
1. Download the plugin
Download the transjt plugin from app.transjt.ai/plugin/wordpress. You also find it in the transjt app under Plugins > WordPress plugin.
2. Install and activate it
- In WordPress, go to Plugins > Add New Plugin > Upload Plugin.
- Choose the downloaded file and click Install Now.
- Click Activate. transjt.ai now appears in the left admin menu.
3. Connect WordPress and transjt
- Log in to your transjt account in the same browser.
- In WordPress, click transjt.ai in the left admin menu and click Connect.
- A popup asks you to authorize the connection. Confirm it.
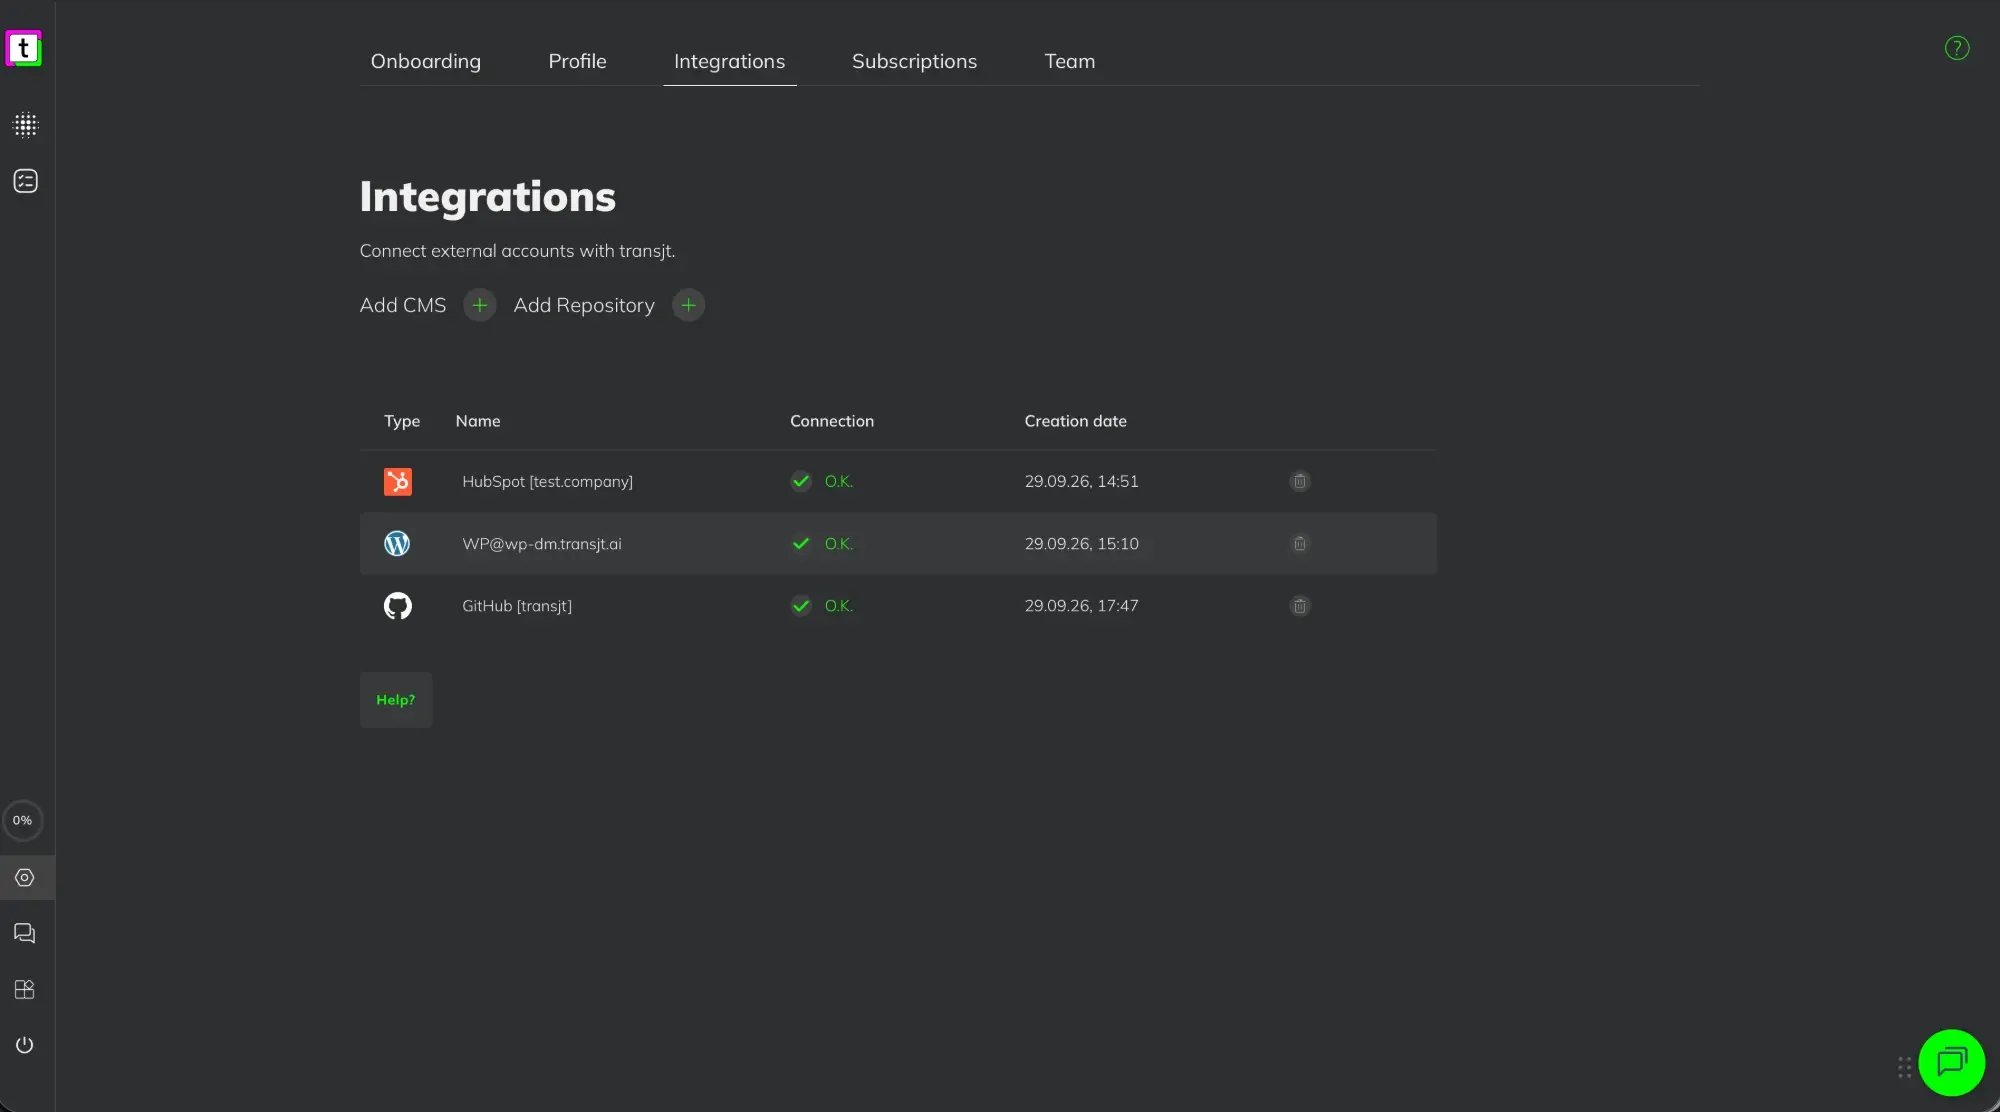
- In transjt, the site now appears under Settings > Integrations with the connection status O.K.
Several WordPress sites
Each site needs the plugin and its own connection. Every connected site appears as a separate line under Settings > Integrations.
Link the site to a project
WordPress is always connected through the transjt plugin first (steps 1 to 3 above). After that, you link the site in the Deploy step of your project:
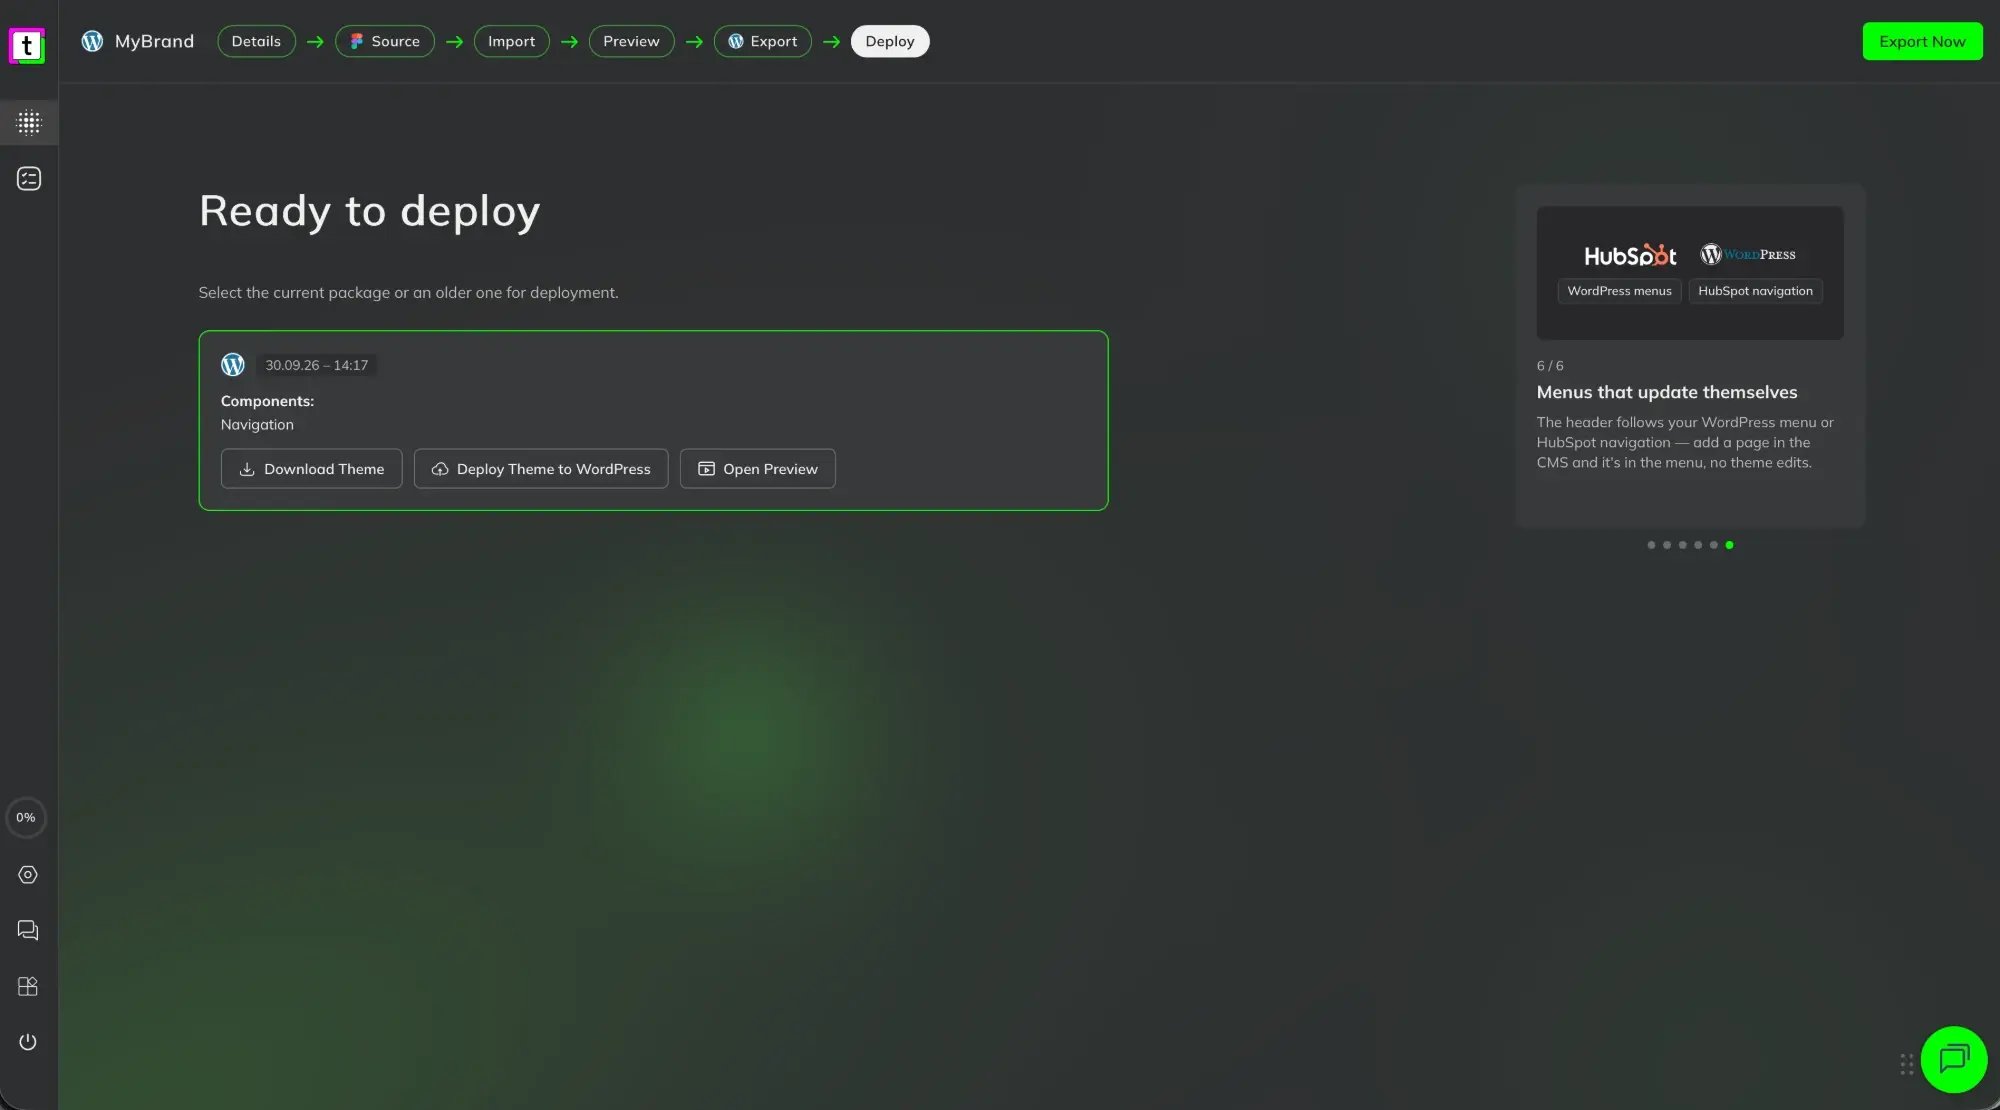
- Open your project and go to the Deploy step. You see Ready to deploy with your current package.
- Click Deploy Theme to WordPress.
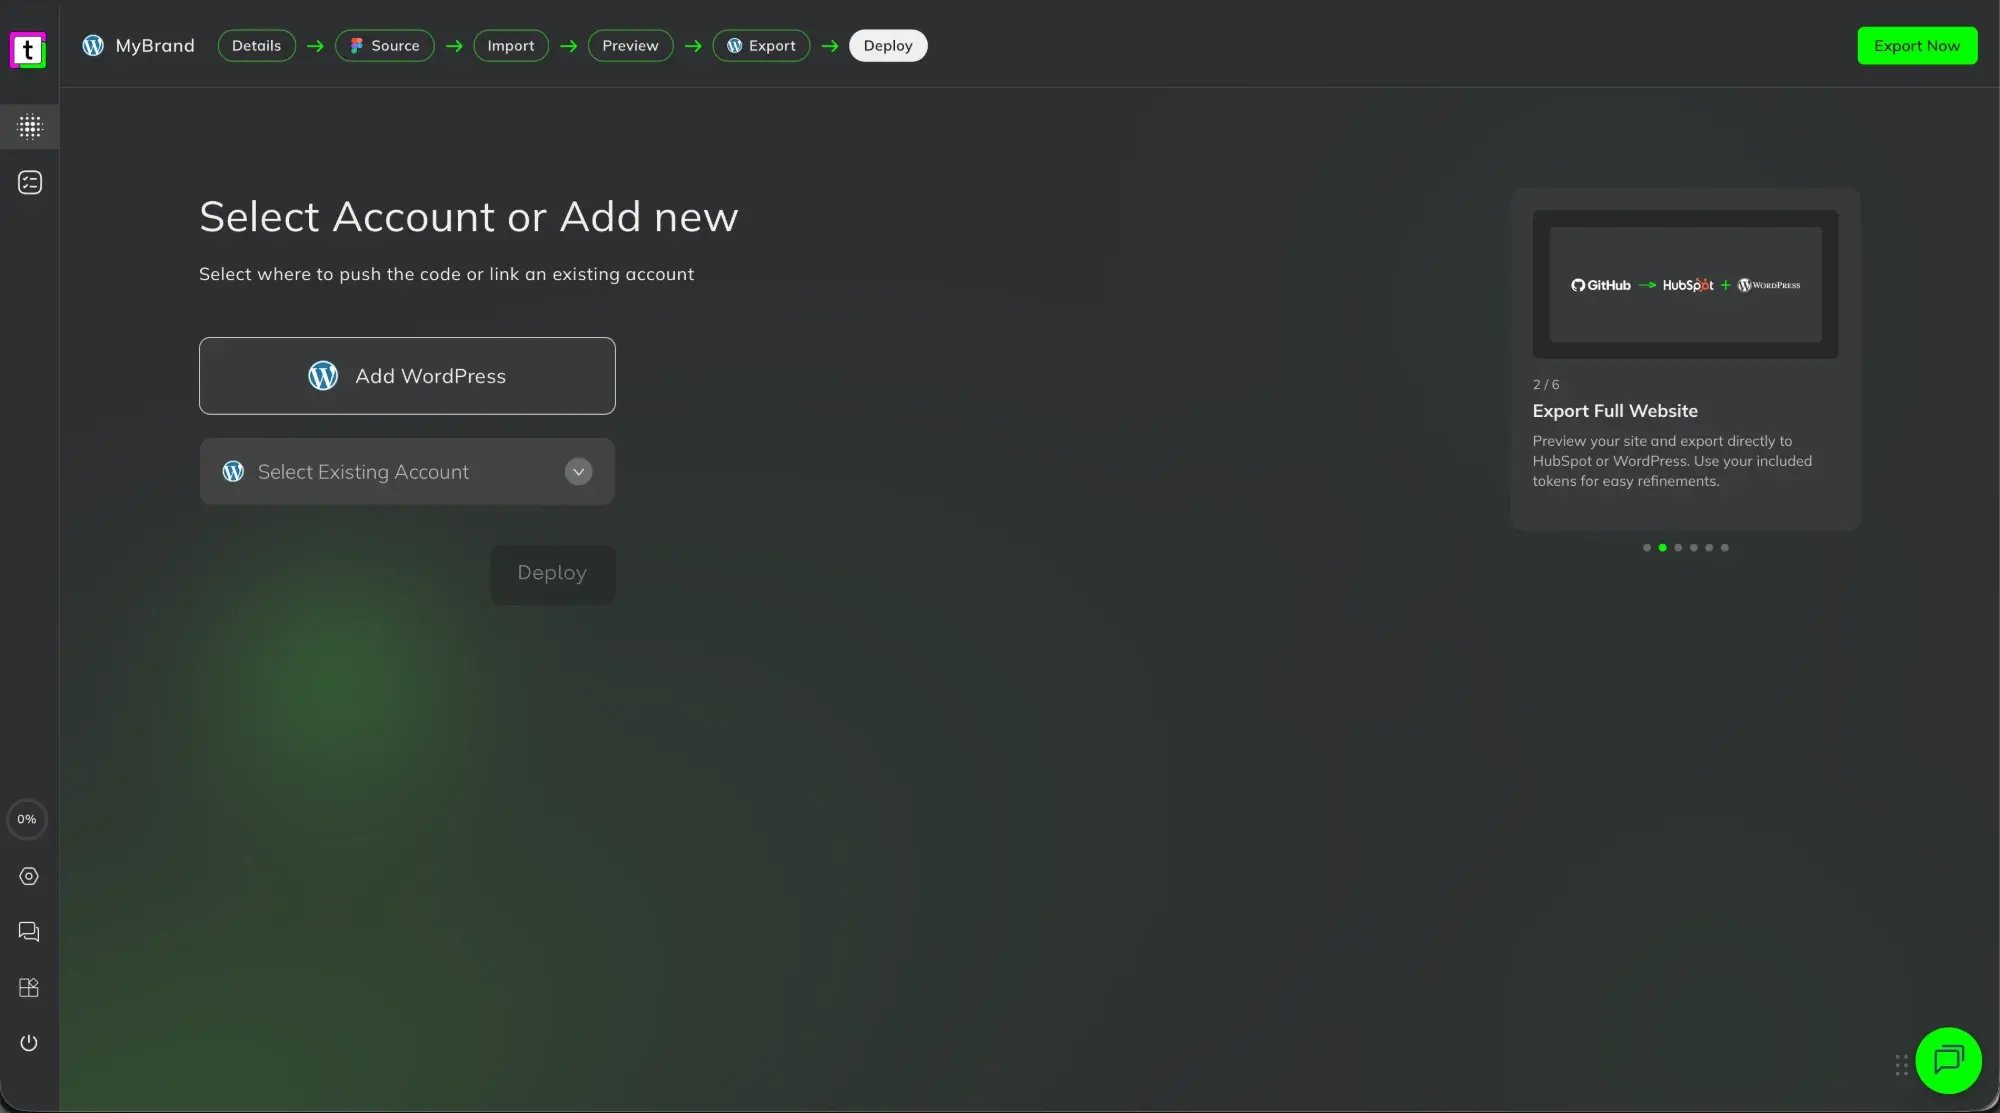
- If the project is not linked yet, Select Account or Add new opens: pick your site under Select Existing Account.
- Click Deploy.
Once the project is linked, the site step is skipped and the theme is deployed directly. Add WordPress on that screen opens an info screen with the plugin instructions.
Remove a connection
In Settings > Integrations, click the bin icon next to the site. To remove transjt from WordPress completely, deactivate and delete the plugin under Plugins.
Your projects stay as they are. A project that used this connection is no longer linked; select a site again in the Deploy step.
Next step
Export your project, then activate the theme. See Using your theme in WordPress.