Connecting HubSpot
Connect your HubSpot account so transjt can deploy your theme straight into it.
Before you start
- A HubSpot account. Any plan works, including the free one.
- Super Admin rights in that HubSpot account. Without them, HubSpot does not let transjt install the theme.
Connect HubSpot
You can connect HubSpot in two places: under Settings > Integrations, or later in the Deploy step of your project.
Option 1: in Settings
- In transjt, open Settings > Integrations.
- Click + next to Add CMS.
- In the Select CMS dialog, choose HubSpot and click Proceed.
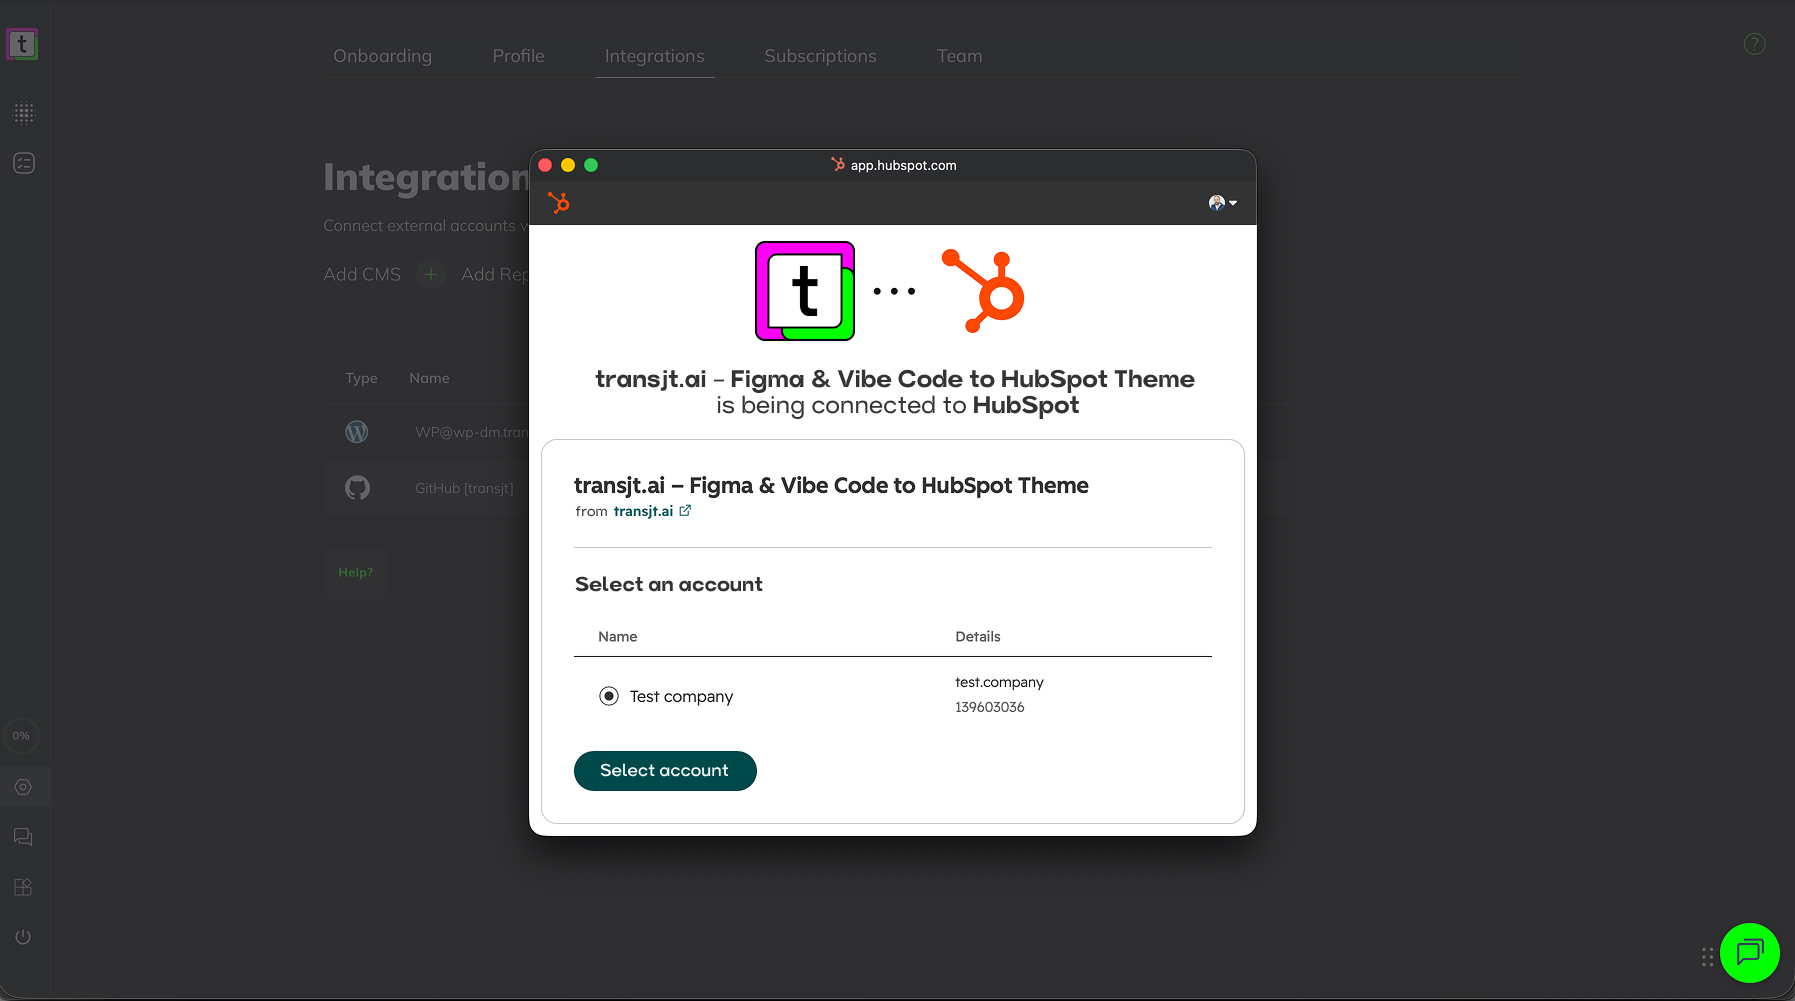
- A HubSpot window opens (OAuth). Log in to HubSpot, choose the account you want to connect under Select an account, and click Select account.
- Back in transjt, the account appears in the list with the connection status O.K.
Option 2: in the Deploy step
- Open your project and go to the Deploy step.
- Click Add HubSpot.
- A HubSpot window opens (OAuth). Log in to HubSpot, choose the account under Select an account, and click Select account.
You can also start from HubSpot: the transjt app is listed in the HubSpot Marketplace. In transjt, Plugins links to it as well.
Link the account to a project
A project deploys to one HubSpot account. You link it in the Deploy step:
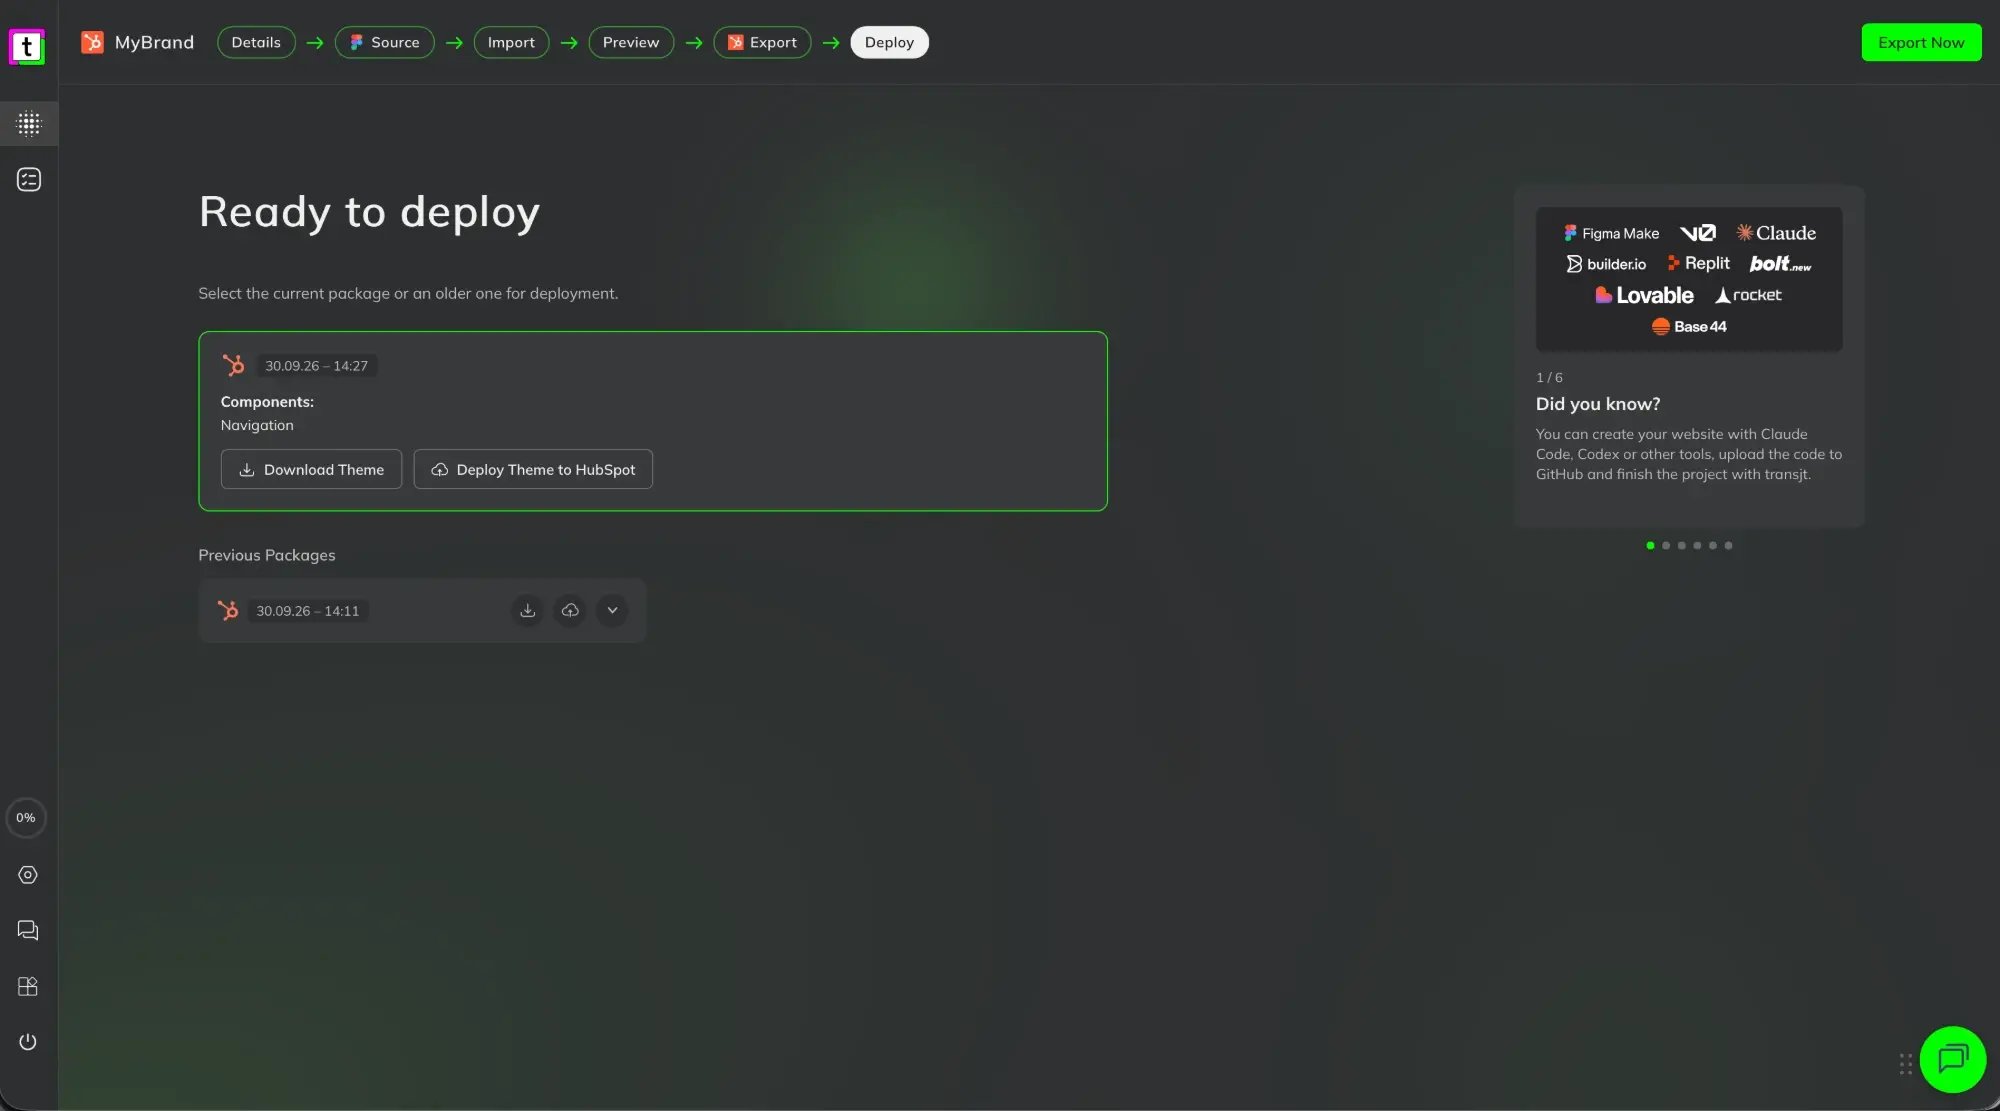
- Open your project and go to the Deploy step. You see Ready to deploy with your current package.
- Click Deploy Theme to HubSpot.
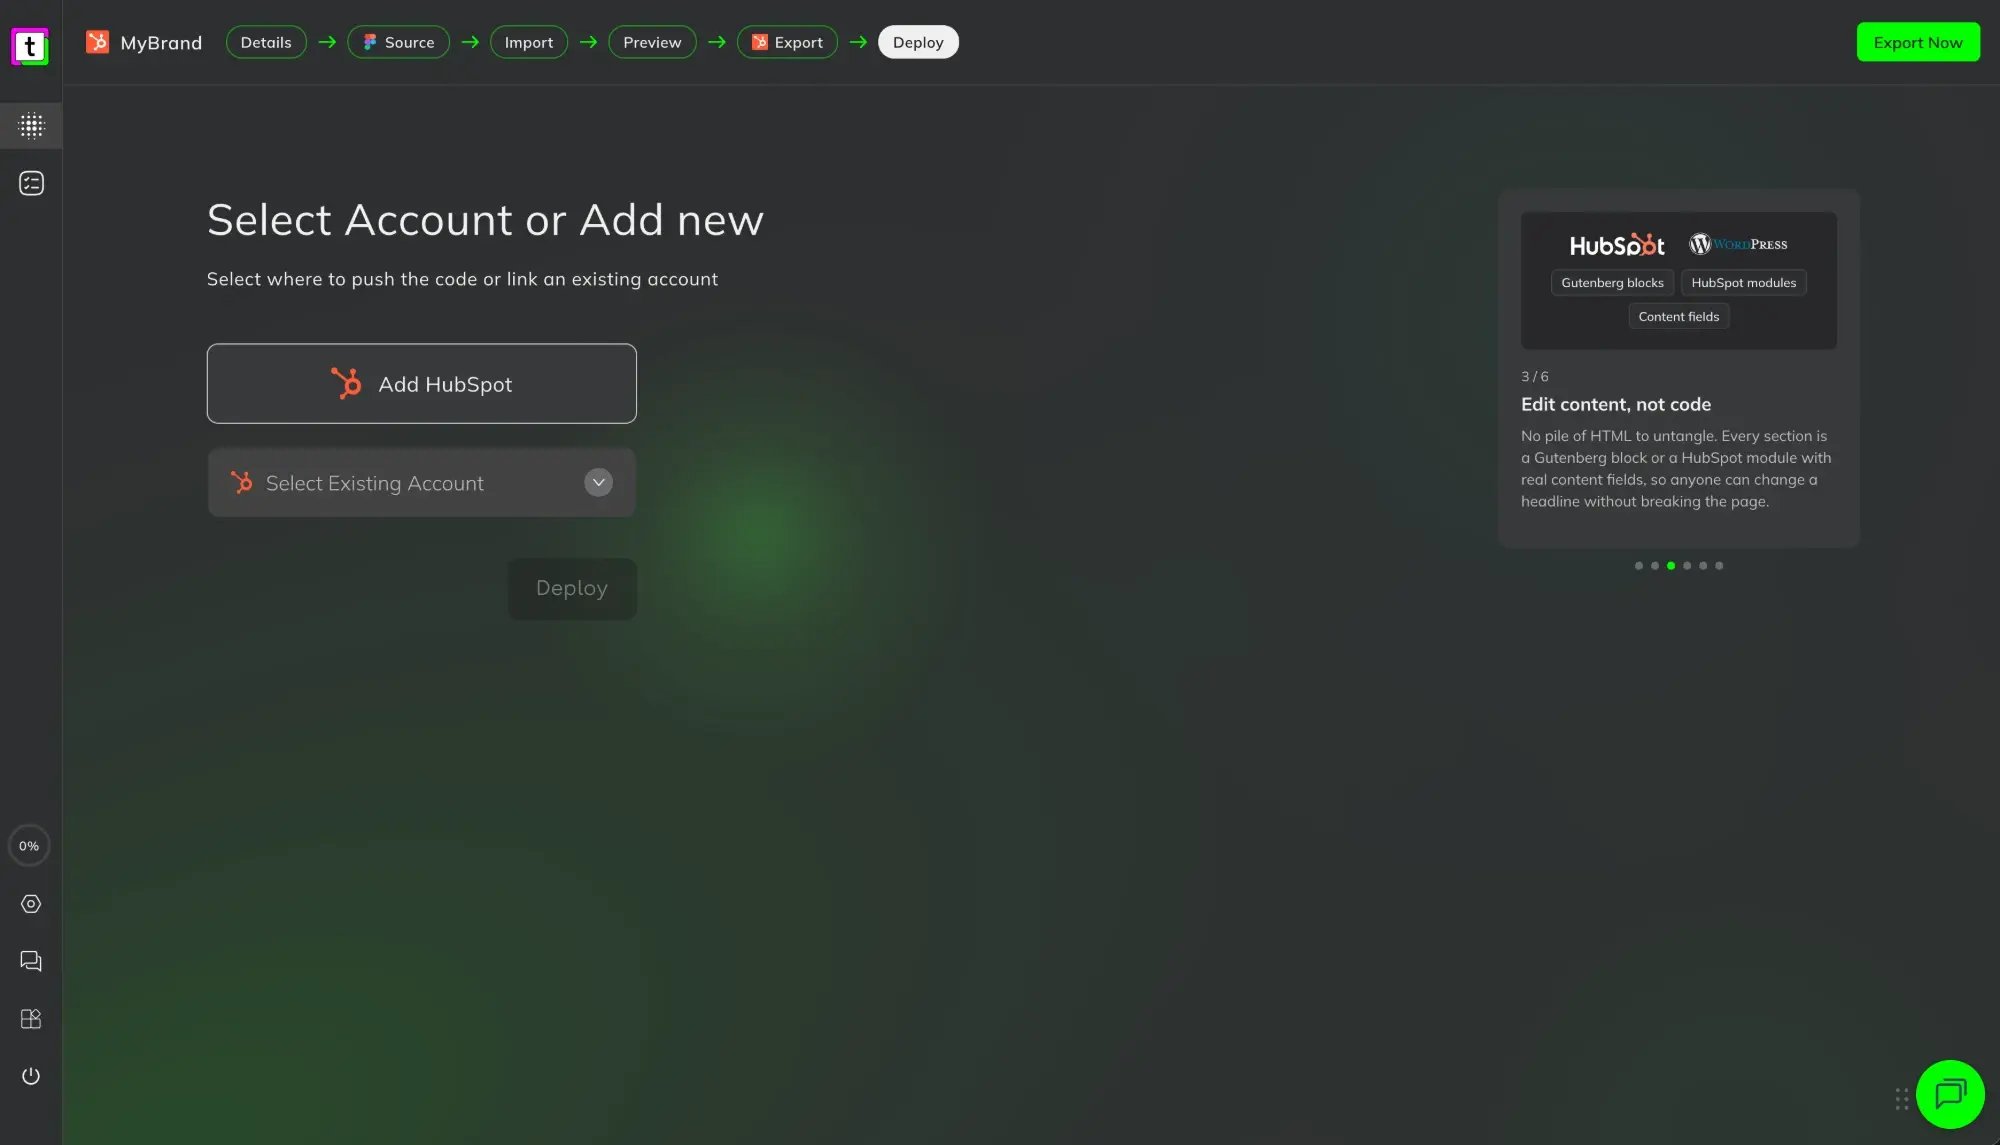
- If the project is not linked yet, Select Account or Add new opens: pick an account under Select Existing Account, or click Add HubSpot to connect a new one. Log in to HubSpot in the window that opens and authorize transjt.
- Click Deploy.
Once the project is linked, the account step is skipped and the theme is deployed directly.
Several HubSpot accounts
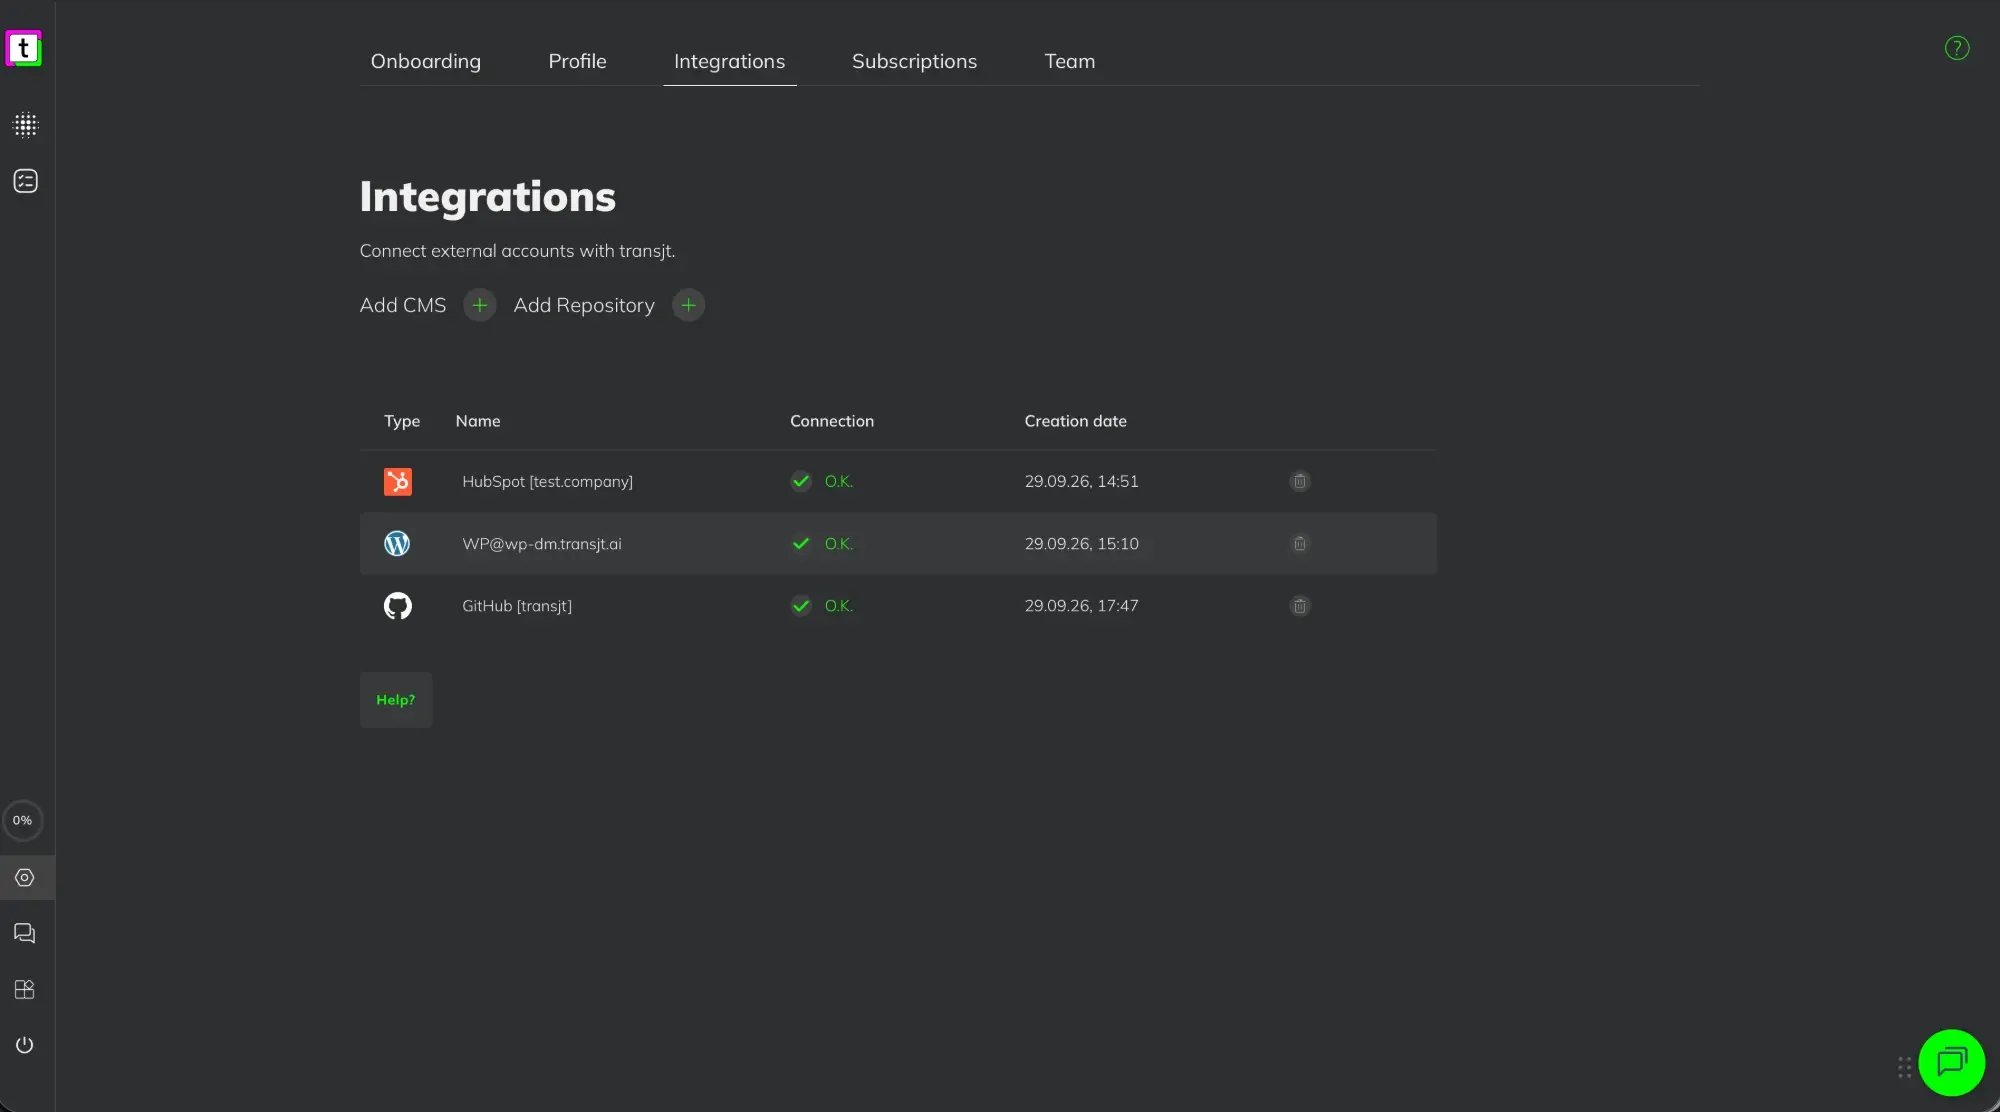
Agencies often connect one HubSpot account per client. Every connected account appears as its own line under Settings > Integrations. Before you deploy, check in the Deploy step that the right account is selected.
Remove a connection
In Settings > Integrations, click the bin icon next to the HubSpot account. You can also uninstall the transjt app on the HubSpot side, under Settings > Integrations > Connected Apps.
Your projects stay as they are, and so does everything already exported to HubSpot. A project that used this connection is no longer linked; select an account again in the Deploy step.
Troubleshooting
- The theme does not show up in HubSpot. It appears only after your first export. Check that the export finished in Tasks, and that the account selected in the Deploy step is the one you are looking at.
- HubSpot refuses access. Log in with a user who has Super Admin rights in that account.