Quick start
Go from a design to a working theme in your CMS. Your theme is ready within a few hours.
Before you begin
You need:
- A transjt account.
- A HubSpot account with Super Admin access, or a fresh WordPress installation.
- A design in Figma, or a repository on GitHub. No design yet? Use the free transjt Figma Playground file, or let the free Website Prompt Generator write the prompt for your AI builder.
- The right plan: Figma imports run on a transjt subscription (Free, Creator or Professional), and a GitHub project is exported as a one-time purchase of the full website.
1. Create your account
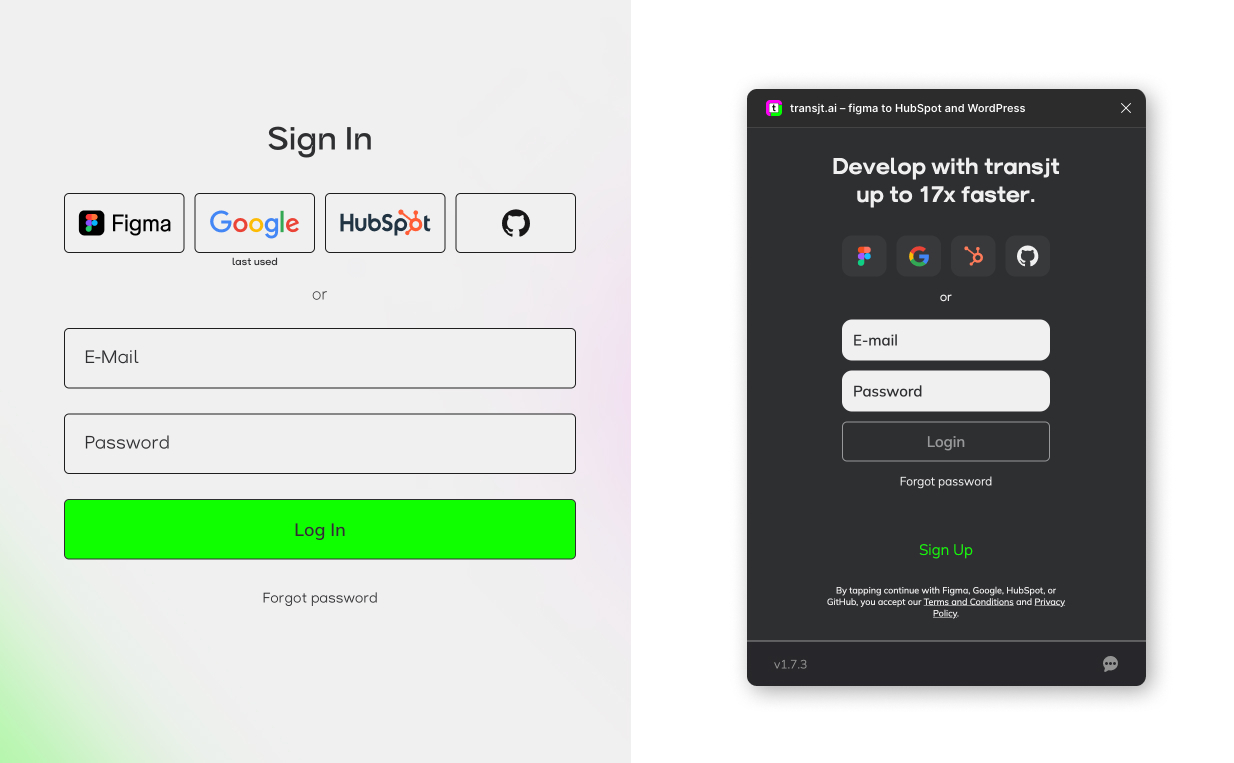
Go to transjt.ai and sign up with Figma, Google, HubSpot, GitHub, or your email. The same account works for the plugin and the app.
2. Connect your CMS
Connect the CMS you want to export to. You only need one of the two.
HubSpot
- Log in to transjt.ai and open Settings > Integrations.
- Click Add CMS and choose HubSpot.
- A HubSpot window opens (OAuth). Log in and authorize transjt. HubSpot asks for Super Admin rights.
Nothing opens? Your browser blocked the popup. Allow popups for app.transjt.ai and try again.
You can also skip this for now and connect HubSpot later, in the Deploy step of your project.
More in Connecting HubSpot.
WordPress
- Download the transjt plugin and upload it under Plugins in your WordPress dashboard.
- Click Activate. transjt.ai appears in the left admin menu.
- Stay logged in to transjt.ai, click transjt.ai in the sidebar and choose Connect. Authorize the connection in the popup.
Later, in the Deploy step of your project, you select this site under Select Existing Account.
More in Connecting WordPress.
3. Create a project
In transjt.ai open Projects and click +. Name the project, optionally drop in a cover image, and click Create. The cover image is later used as the preview image of your theme in HubSpot or WordPress, so you can recognize it when you pick it there. In the next step, Source, choose where your design comes from: Figma or GitHub. If you work from Figma, you can also create the project from the plugin instead (see step 4).
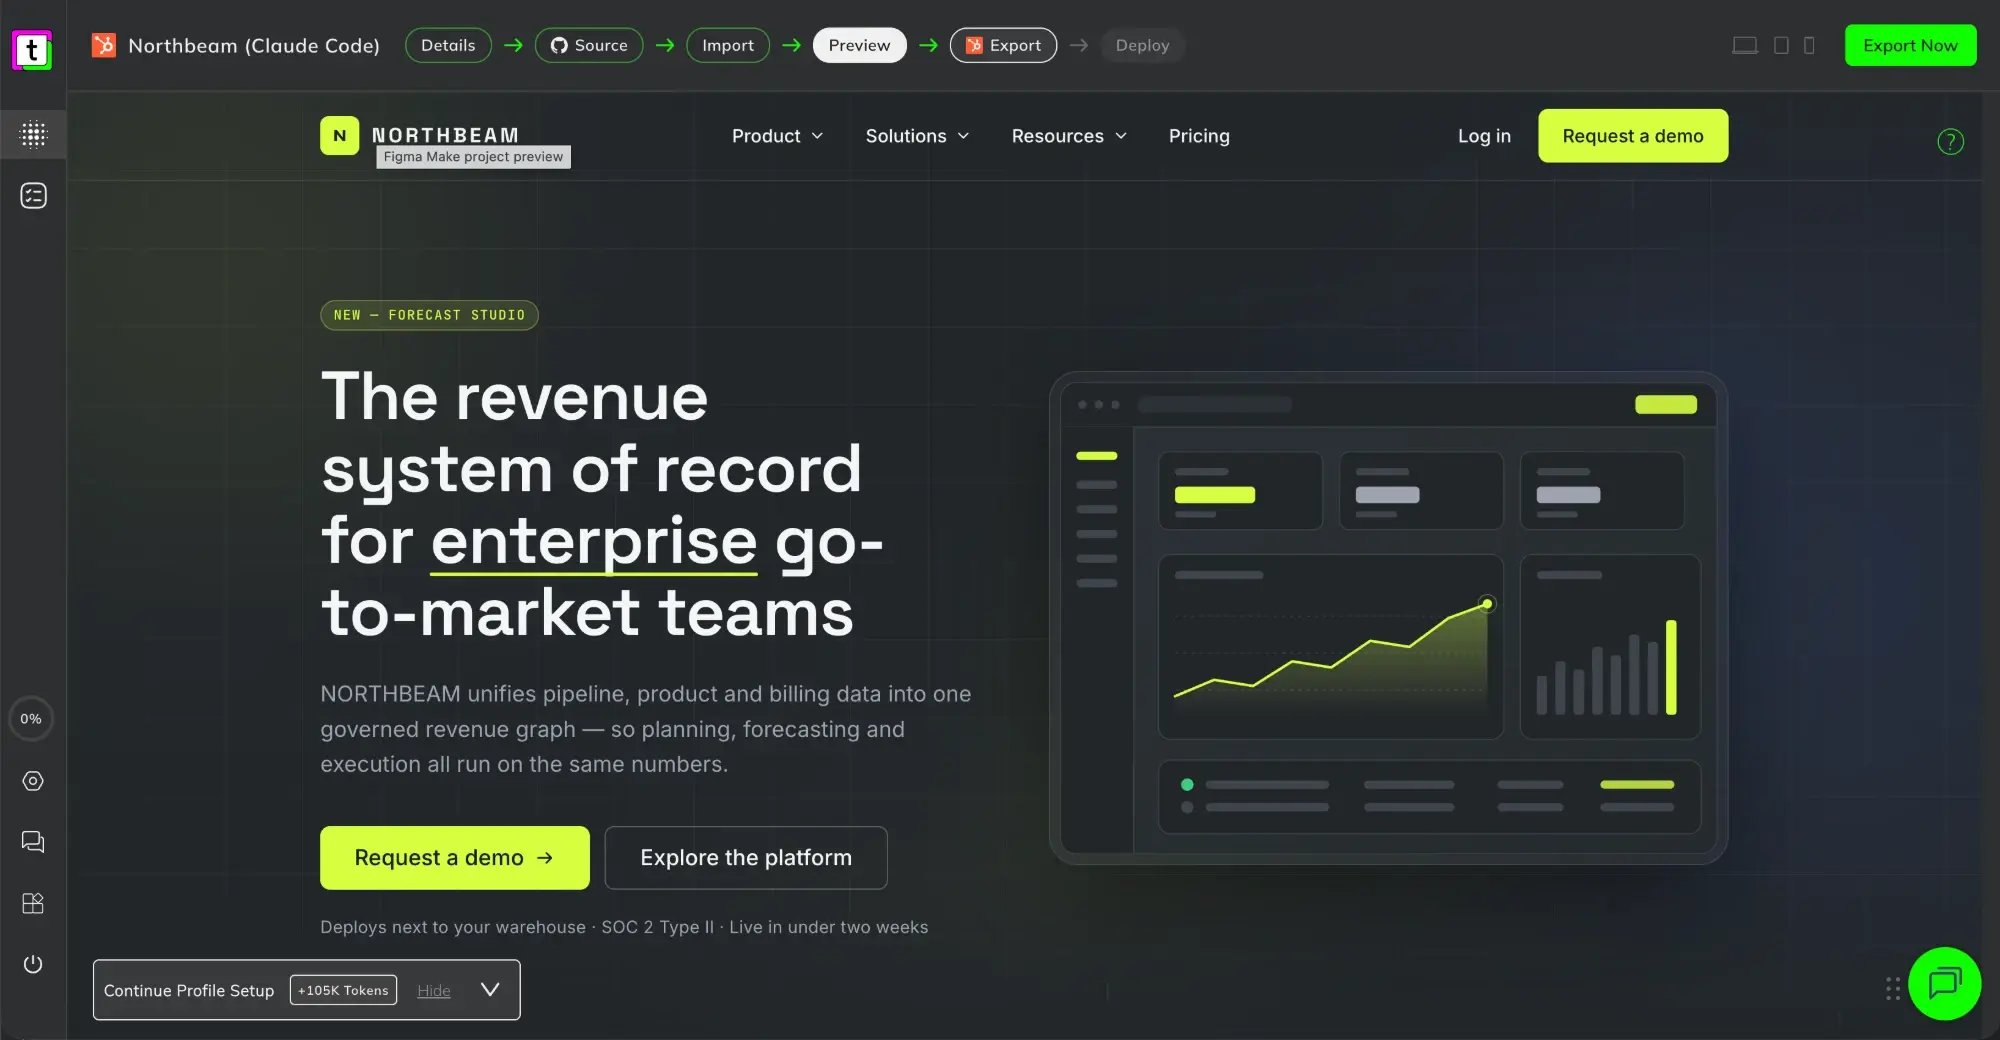
Every project follows the same steps, shown at the top of the screen: Create → Source → Import → Preview → Export → Deploy.
You can also delete projects from the same overview.
You choose the HubSpot account for a project in the Deploy step: open Select Existing Account to pick a connected account, or click Add HubSpot to connect a new one there. A WordPress site must be connected through the plugin first (step 2).
4. Import your design
Choose your path: a design from Figma, or code from an AI builder on GitHub.
From Figma
- Install the transjt plugin from the Figma Community, or search "transjt" under Plugins & Widgets in Figma. You also find it in the transjt app under Plugins.
- Log in to the plugin.
- Under Select type, choose what you are importing: Component, Blog (a blog listing layout) or Blog Detail (a single post layout).
- Under Projects, pick an existing project, or click Create Project and give it a name.
- In Figma, select the layers you want to convert and click Import to transjt.
- The selected components are transferred to the transjt app.
From GitHub
- Choose GitHub in the Source step of your project.
- Click Connect GitHub and follow the popup. If nothing opens, check that your browser is not blocking popups.
- Select the account, repository and branch, then click Proceed.
transjt imports the code and builds the frontend of your project. For the cleanest result, add this to your AI prompt: "Use React/Vite without Next.js and SSR."
5. Preview
In the transjt app, preview your imported components before you export. For GitHub projects, click through every page and its content. For WordPress you can also preview the frontend combined with the CMS after the Deploy step.
6. Export
Click Export in the transjt app (for GitHub projects the button is also called "Export") and choose  HubSpot or
  WordPress. transjt generates the theme. You send it to your CMS in the next step, Deploy.
 GitHub projects
the export is a one-time payment for the full website. Complete the payment when asked.
 Figma projects
imports use tokens from your subscription. Exports use none. Manage or upgrade your plan under Settings > Subscriptions.
7. Deploy
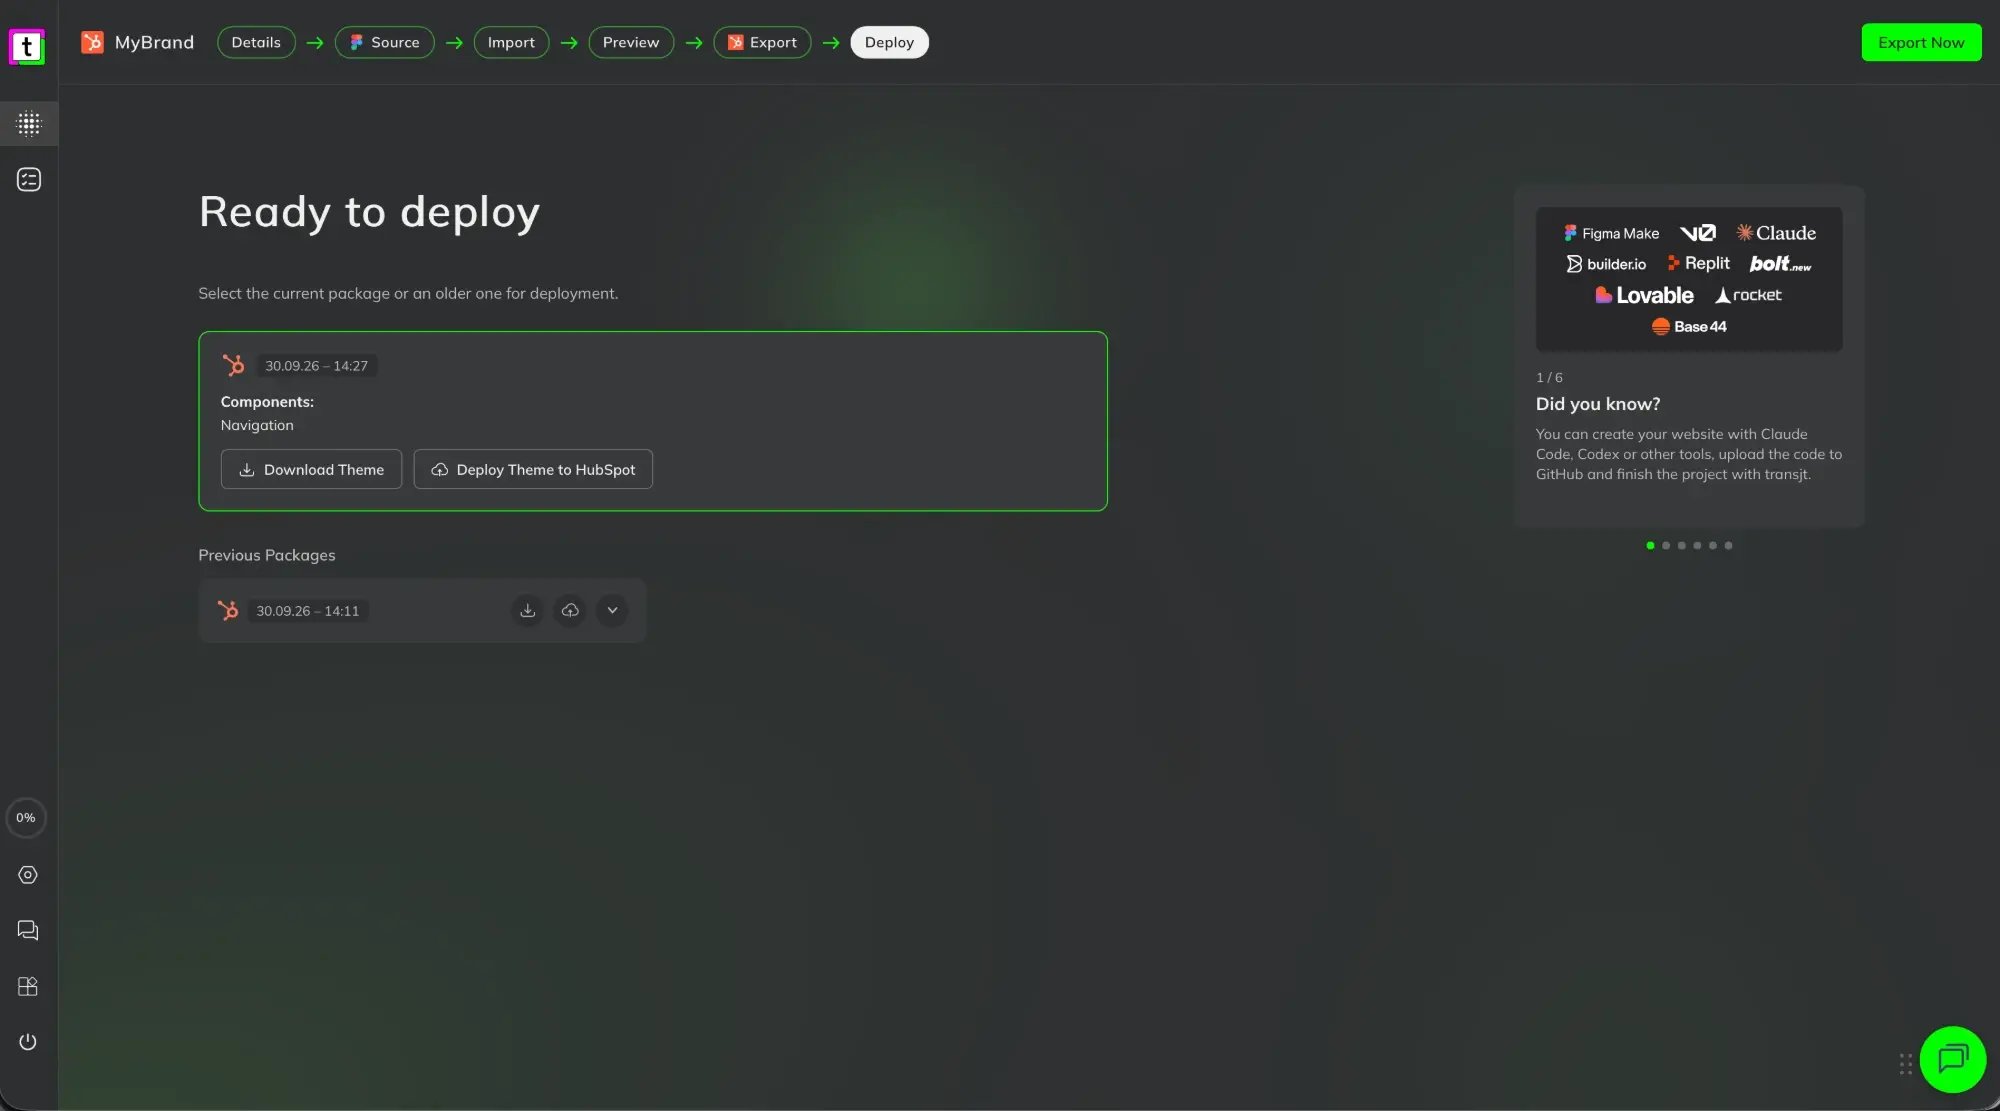
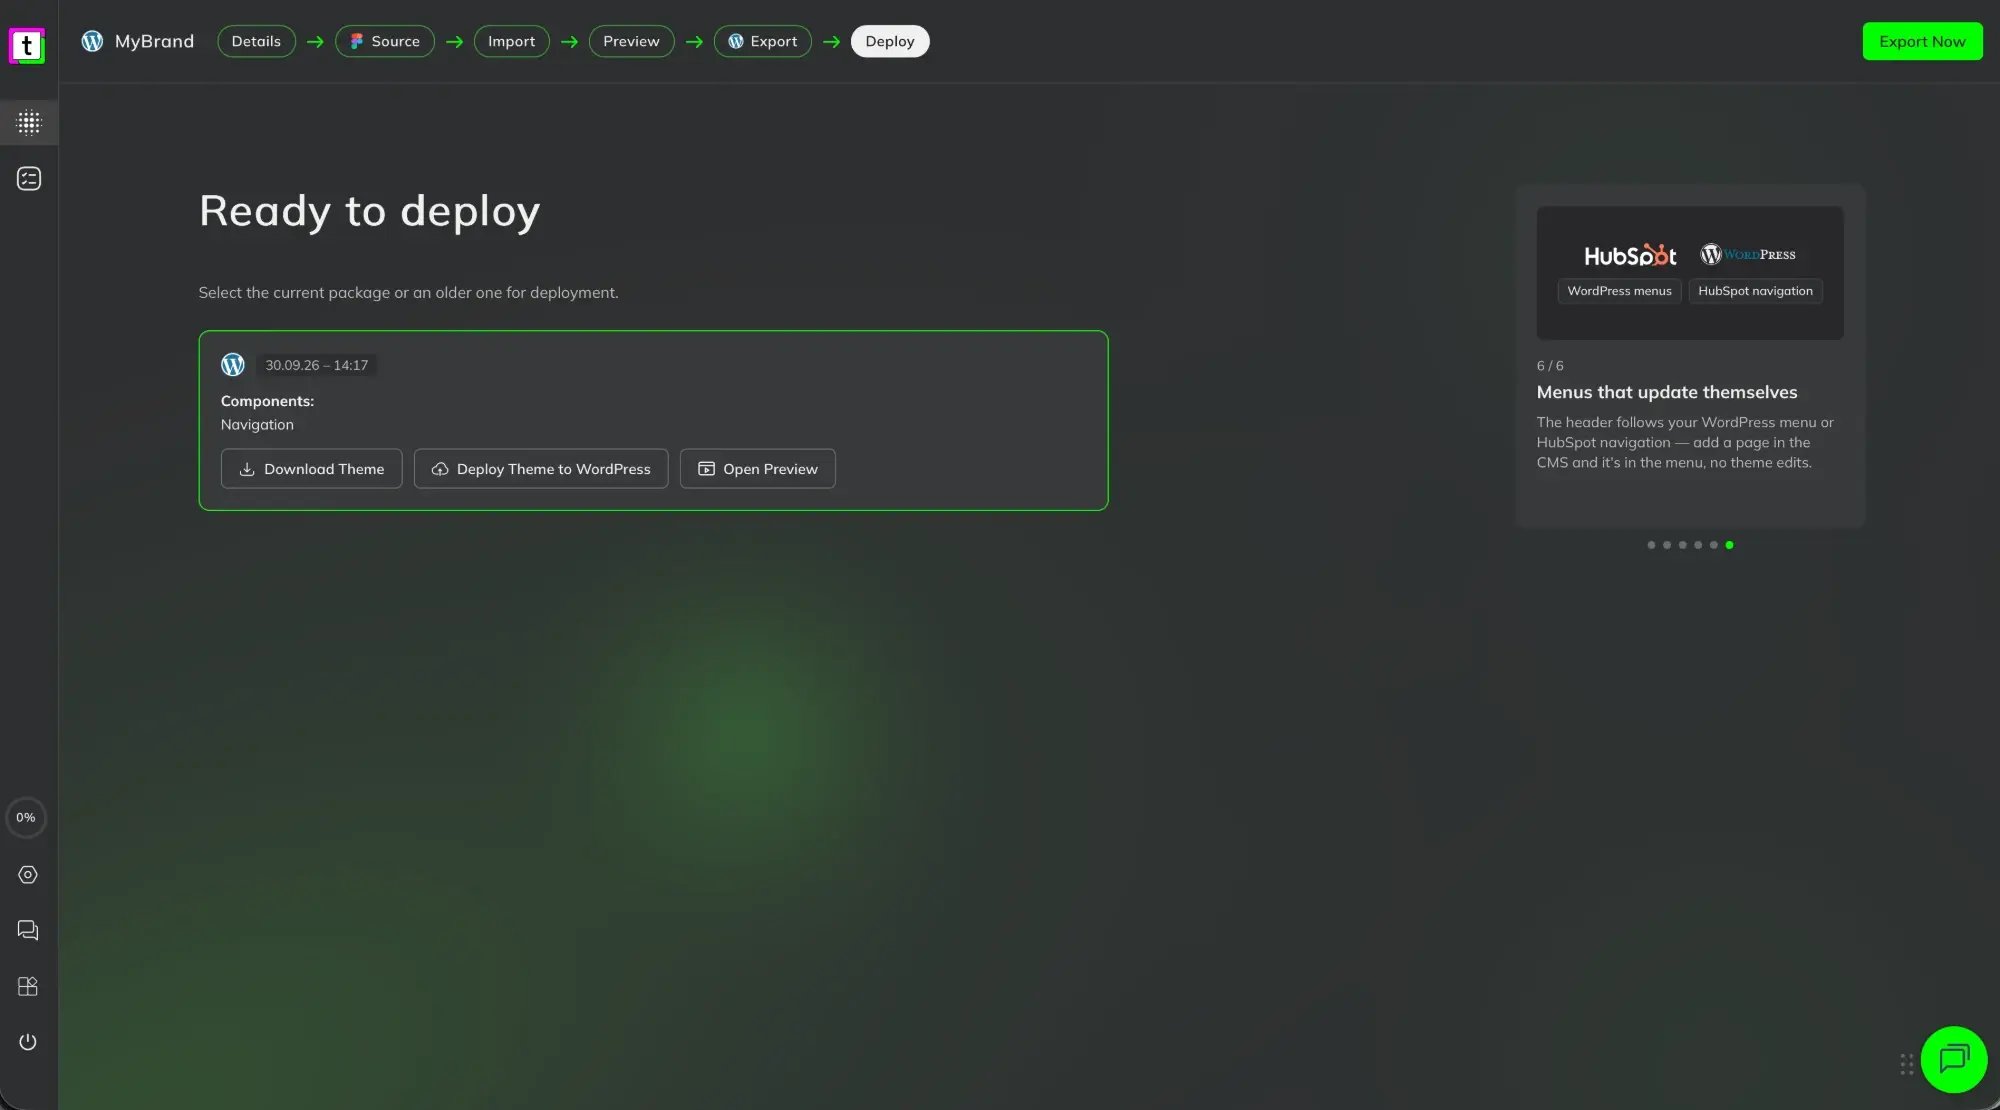
In the Deploy step you see Ready to deploy with your current package: the date, the components it contains, and these buttons:
- Deploy Theme to HubSpot or Deploy Theme to WordPress: sends the theme to your CMS.
- Download Theme: downloads the theme as a ZIP file to install it manually. See how for HubSpot and WordPress.
- Open Preview (WordPress only): shows your site combined with WordPress in a sandbox.
The first time you deploy a project, transjt asks where to deploy (Select Account or Add new): pick a connected account under Select Existing Account, or click Add HubSpot. Once the project is linked, this step is skipped.
HubSpot
Click Deploy Theme to HubSpot. Not linked yet? Select your account or click Add HubSpot and log in.
More in Connecting HubSpot.
WordPress
Click Deploy Theme to WordPress. Not linked yet? Select your site under Select Existing Account. It appears there once the transjt plugin is connected.
More in Connecting WordPress.
Previous packages
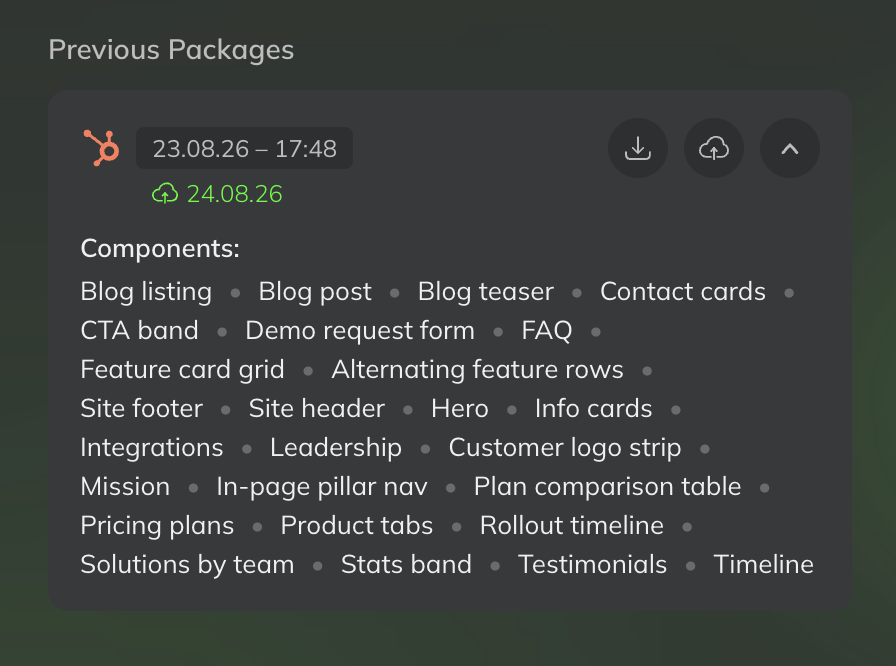
Every export creates a package. The newest one is shown at the top; older ones are listed under Previous Packages. For each package you see:
- the date and time of the export,
- when it was last deployed (green, with a cloud icon; the current package shows Last Deploy),
- its components, when you open it with the arrow.
With the two buttons next to a previous package you can:
- Download it, to install that version manually, or
- Deploy it again, for example to go back to an earlier version of your theme.
8. Start building
HubSpot
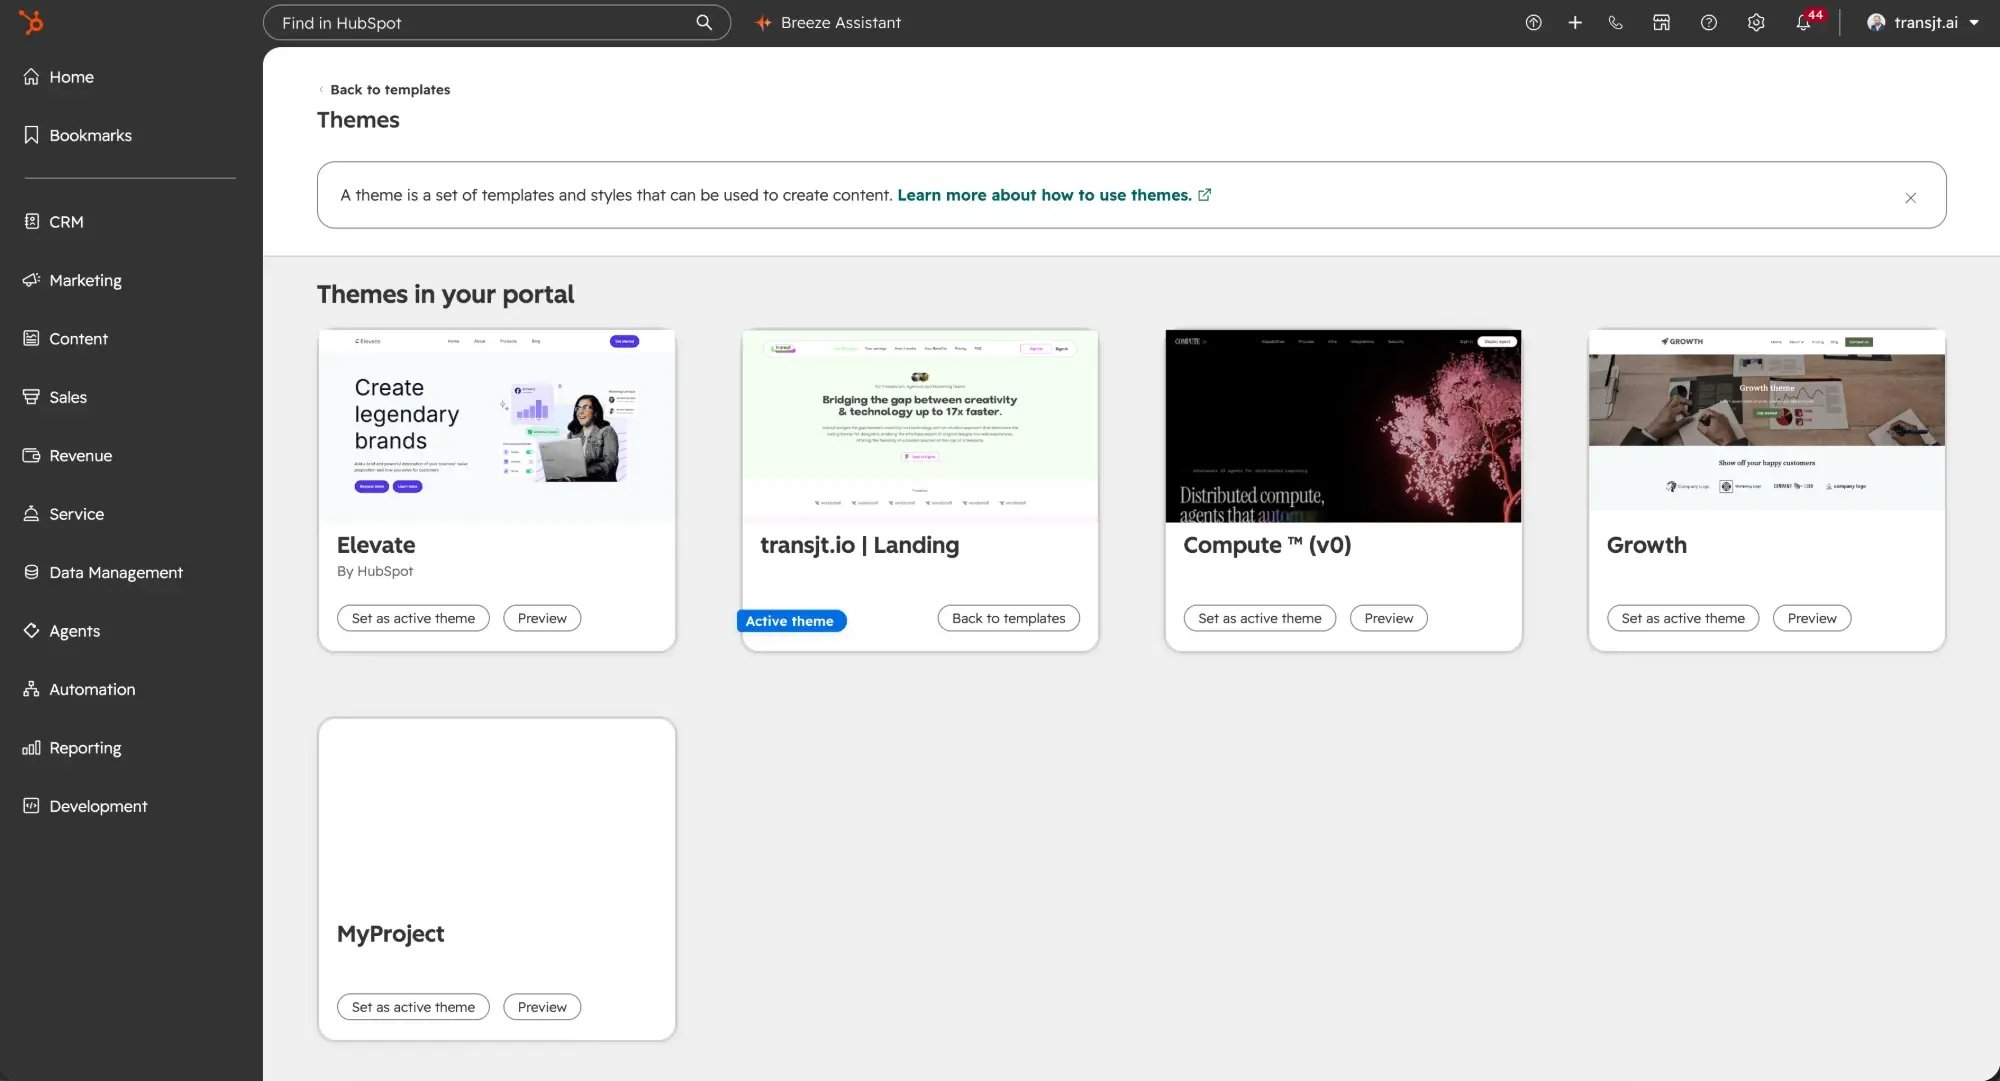
Create a page or website project and pick your theme by its name and preview image. It shows up after your first export.
More in Using your theme in HubSpot.
WordPress
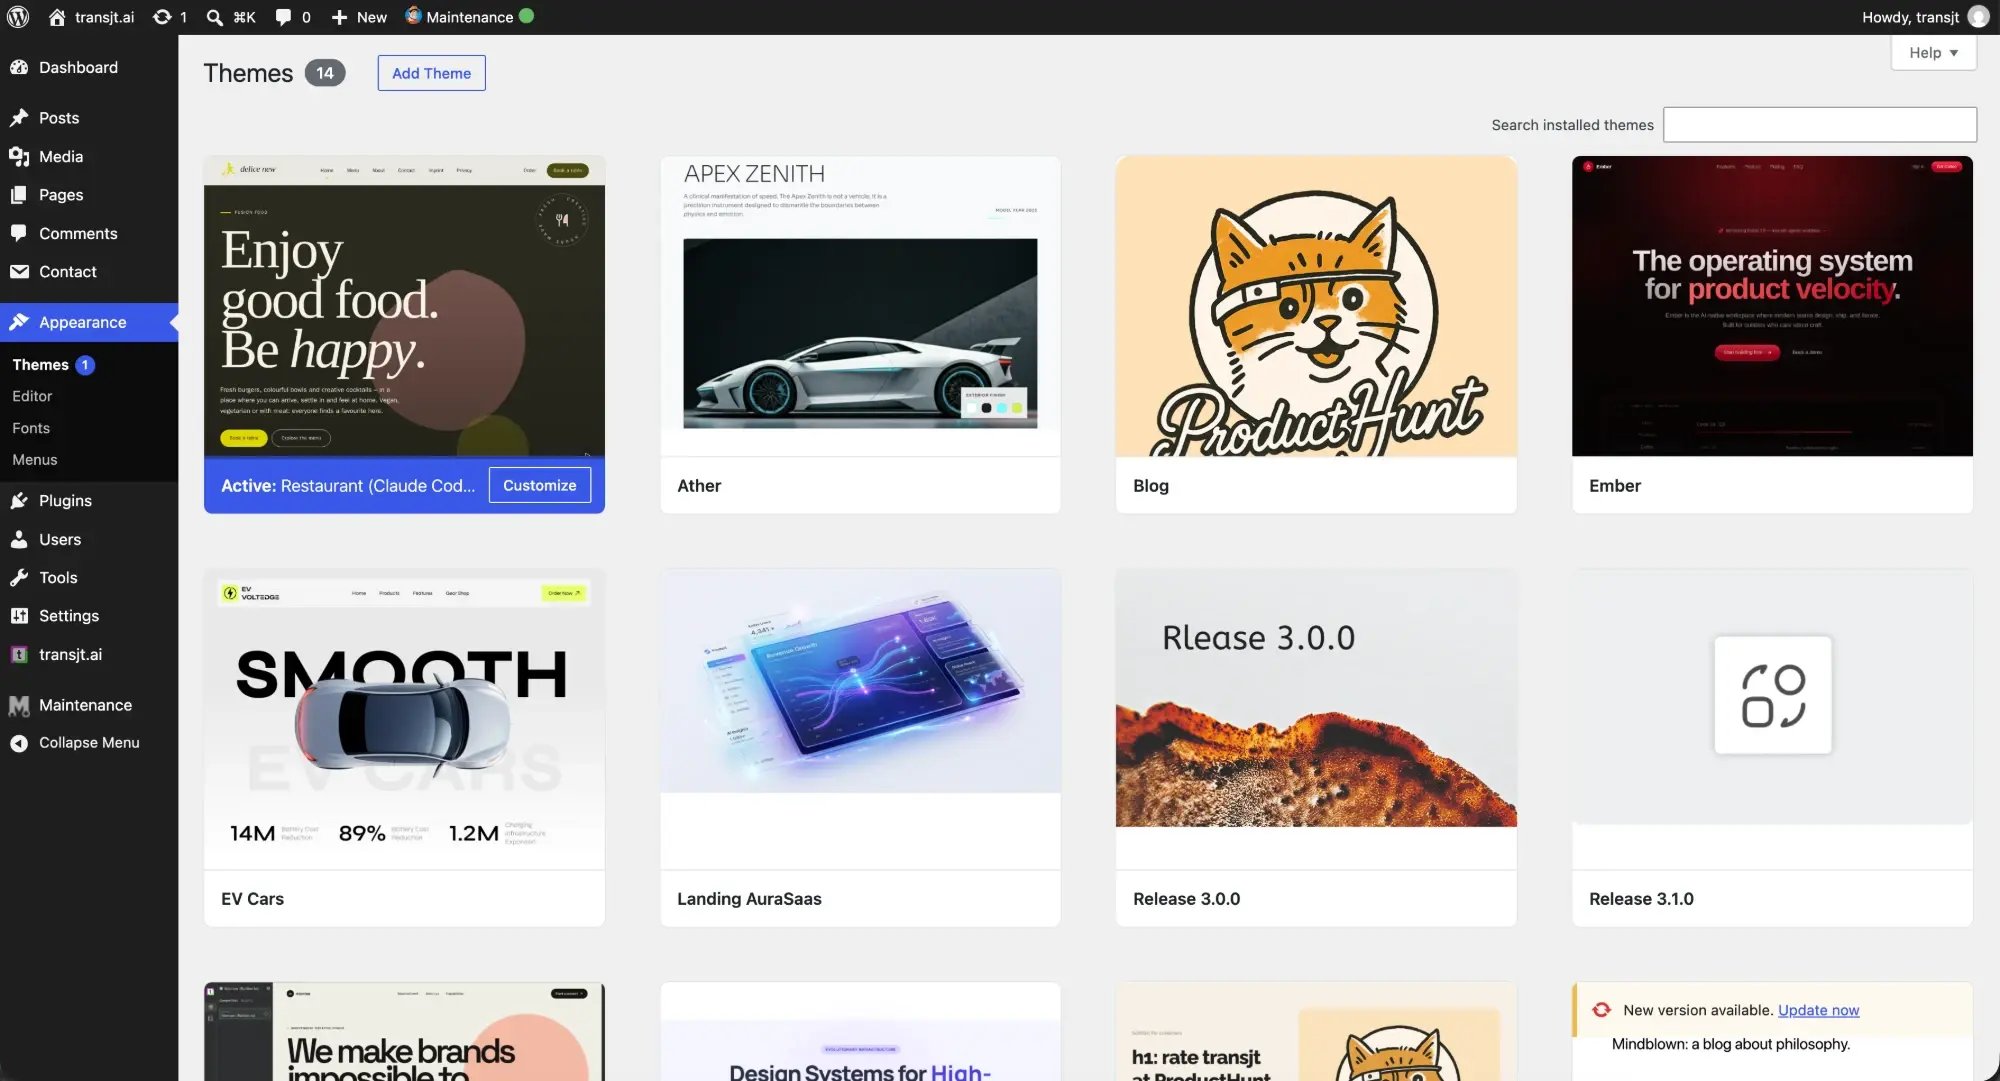
Go to Appearance > Themes, hover over the theme and click Activate. New pages show your blocks in the left sidebar.
More in Using your theme in WordPress.