This guide will walk you through the complete process of designing your blog templates in Figma, converting them with transjt.ai, and correctly setting them up in your HubSpot portal.
Before You Begin:
-
You should have working accounts for Figma, transjt.ai, and HubSpot (with blog permissions).
-
This guide assumes you have already created and exported your main site Header (Navigation) and Footer. We will be creating the blog templates without these elements.
- The first setup takes some but after it, it will be easy creating new blog post!
We also prepared a video guide for you:
Step 1: Design Your Blog Templates in Figma
Start by designing two essential artboards in Figma. Remember to design them without your site's main header or footer, as those will be handled separately in HubSpot.
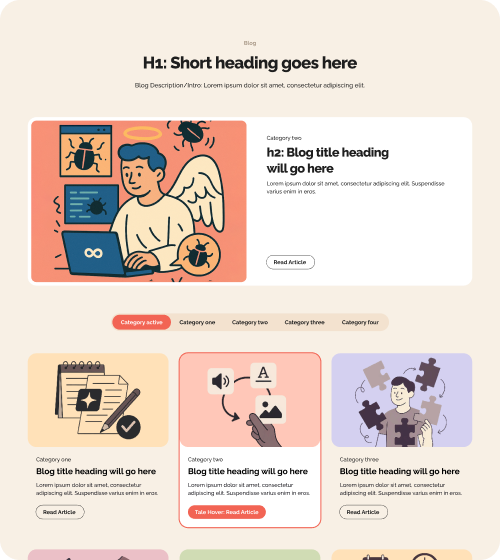
Blog Listing Page
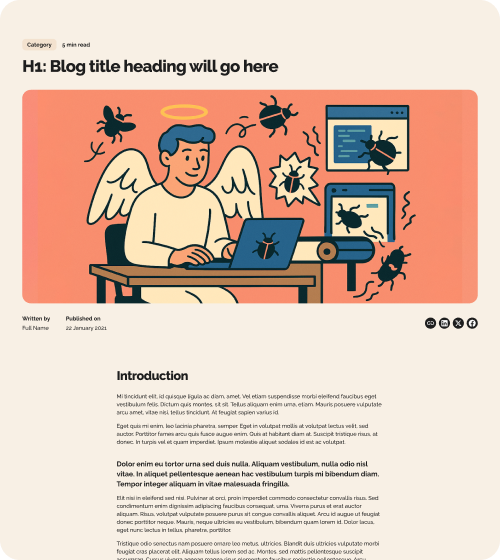
Blog Post Page
Use Auto Layout in Figma to ensure your designs are responsive and translate well in the next steps.
Step 2: Import Your Designs into transjt.ai
Next, we'll use the transjt.ai plugin in Figma to process your designs.
1. Open the transjt plugin for Figma in your Figma file
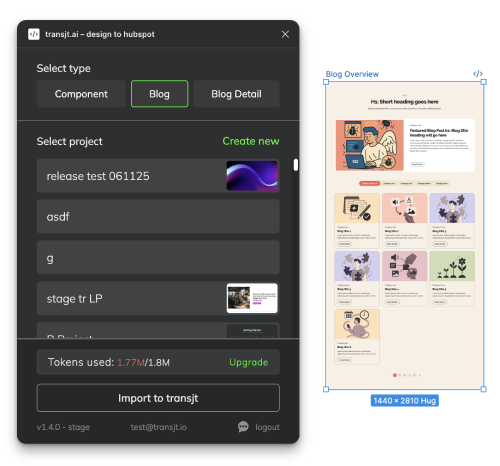
2. Import the Blog Listing Page
-
Select your "Blog Listing" artboard in Figma.
-
In the plugin, select the "Blog" template type.
-
Click Import.
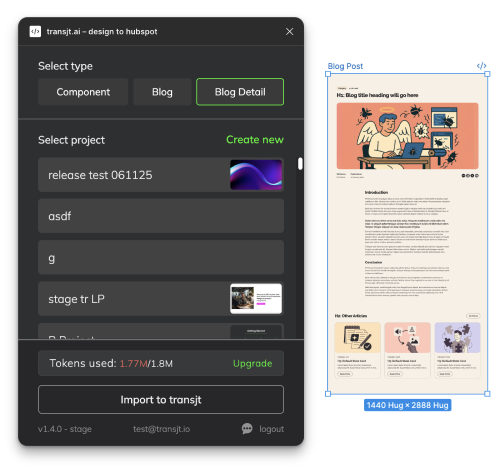
3. Import the Blog Post Page:
-
Select your "Blog Post" artboard in Figma.
-
In the plugin, select the "Blog Detail" template type.
-
Click Import.
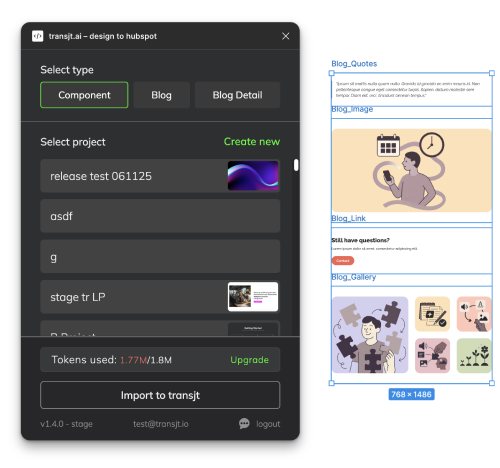
4. Import additional Components
5. Review and Iterate:
-
-
-
After a few minutes, the pages will appear in your transjt.ai dashboard.
-
Open them to check if the layout is correct.
-
If not: The most common issue is Auto Layout. Return to Figma, adjust your Auto Layout configurations, and re-import.
Remember to select the correct template type—"Blog" or "Blog Detail"—each time.
-
-
Step 3: Export templates from transjt.ai to HubSpot
Once you are satisfied with the previews in transjt.ai, it's time to send them to HubSpot.
-
From your transjt.ai dashboard, export both the "Blog" and "Blog Detail" templates.
-
Select your connected HubSpot account as the destination.
-
Wait for the export process to complete.
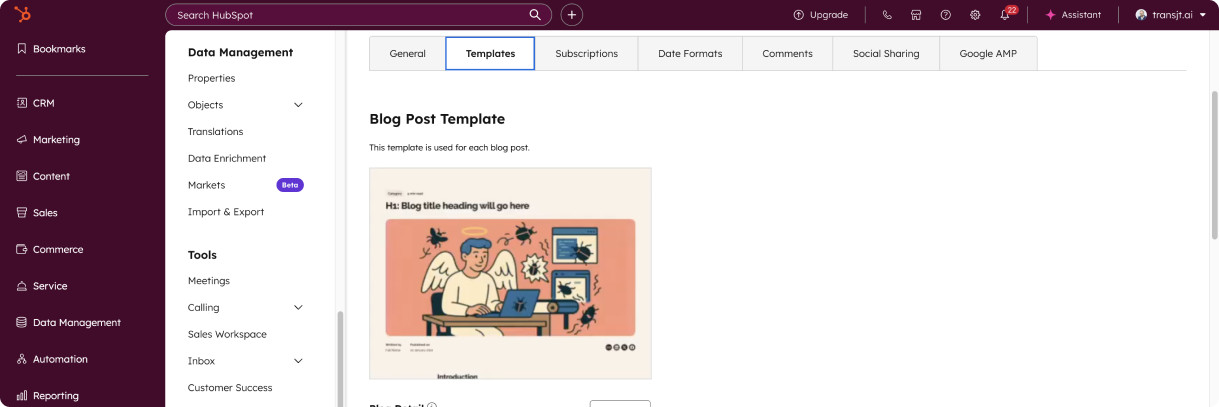
Step 4: Assign Your New templates in HubSpot
Your templates are now in HubSpot, but you need to tell HubSpot to use them for your blog.
-
In HubSpot, navigate to Settings (the gear icon ⚙️ in the top navigation).
-
In the left sidebar, go to Content > Blog.
-
Select the Templates tab.
-
Assign Blog Post Template:
-
In the "Blog Post Template" section, click Actions > Change Template.
-
Select the "Blog Detail" template you just exported.
-
-
Assign Blog Listing Page Template:
-
In the "Blog Listing Page" section, click Actions > Change Template.
-
Select the "Blog" (overview) template you just exported.
-
✨ Pro Tip: Use descriptive names for your artboards in Figma (e.g., "Company Blog - Post Template v1"). These names carry over to transjt.ai and HubSpot, making them much easier to find and manage.
Step 5: Configure and Publish Your Blog Listing Page
The final template setup step is to configure the live listing page.
-
In HubSpot, navigate to Content > Blog. (Left/Default navigation panel)
-
Find your blog, hover over it, and select Edit. This will open the page editor for your main blog listing page.
-
Clean up the page: If there are any default or empty modules/sections on the template remove them.
-
Add your section:
-
Click the Add (+) icon in the left sidebar to open the "Add" panel.
-
Find the "Blog Overview" (or "Blog") section you exported from transjt.ai.
-
Drag it into the main content area of the page.
-
-
Configure: Click on the newly added module to adjust any settings (like the number of posts to display, etc.) if needed.
-
Click Publish or Update in the top-right corner.
Step 6: Create Your First Blog Post
Now that your templates are assigned, let's test the blog post template.
-
Navigate back to your main Content > Blog dashboard.
-
Click Create > Blog post in the top-right corner.
-
Your new "Blog Post" design should be visible immediately in the editor.
-
You can now add your content (title, featured image, and body content) directly into the fields provided by your template.
Step 7: Add Custom Components to Your Post (Optional)
What if you need a special call-to-action (CTA), image gallery, or blockquote inside the main body of your post? You can build these as reusable components.
-
Design: Create the new component in Figma (e.g., a "Newsletter Signup" block).
-
Import to transjt.ai: Select the artboard in Figma, open the plugin, and this time, select the "Component" type. Click Import.
-
Export: Export this new component from transjt.ai to HubSpot.
-
Use in HubSpot:
-
Open any blog post (like the one you created in Step 6).
-
In the blog content editor, click the Add (+) icon in the left sidebar.
-
Find your newly imported component (e.g., "Newsletter Signup").
-
Drag it directly into the main content area of your blog post.
-